In this digital age, laptops are no longer a luxury, but a necessity. You’ll see every other student, worker, and average citizen walking around with one.
This portable PC can be used on any flat surface. But not all surfaces are even and comfortable. There is an apparent risk overheating the laptop or causing burns on your skin.
The best way to tackle this issue is by getting a laptop stand. You can place it almost anywhere, as long as its legs have decent support. But laptop stands are expensive.
So, the best solution is to make your own. We’ll help you make the perfect DIY laptop stand.
[toc]Popular DIY laptop stand ideas
We’ll start with the most comfortable homemade laptop stand ideas and work our way up to expert DIY laptop table.
DIY Laptop Riser
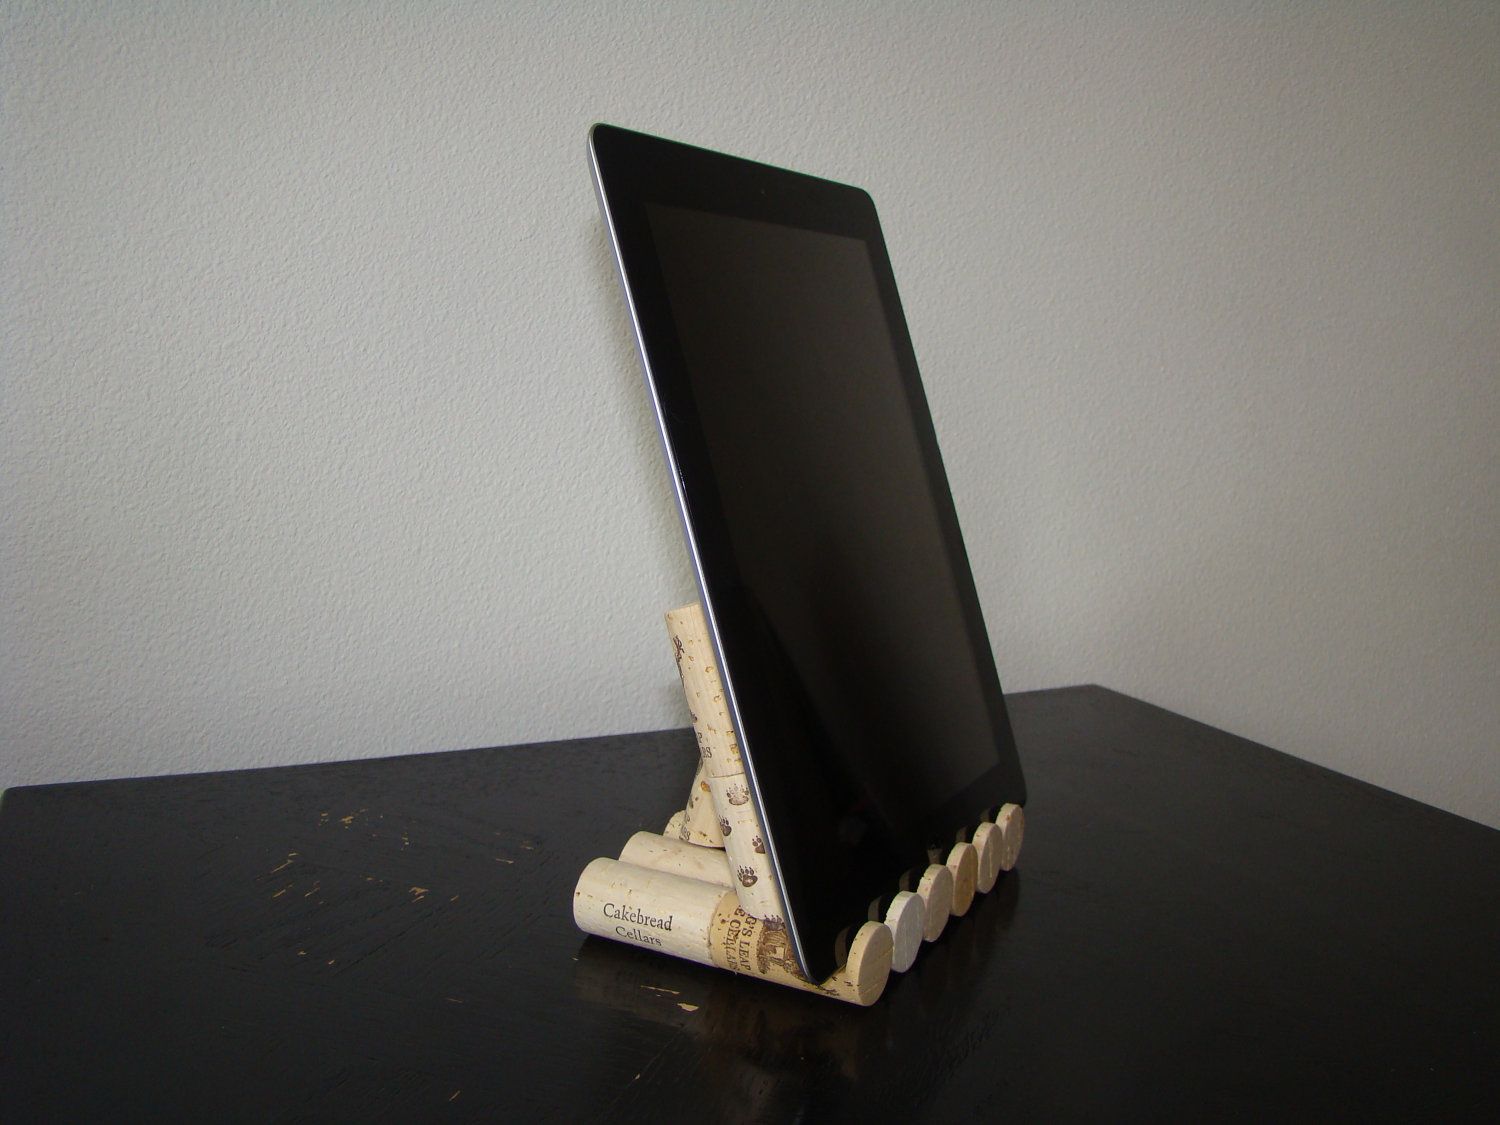
This is as simple as it gets. It is made for the lazier DIY-ers who just want to get the job done.
Slide two of these bad boys under the rear edges of your laptop and voila! Your laptop shall not overheat.
Corks are wildly available everywhere. And if you’re fond of wine, you probably have a couple of them lying around. So, put them to use for a free, DIY laptop riser.
You can even use some old batteries if that doesn’t sound very safe. You can wrap the batteries with an insulating material before using it as an elevator.
DIY Notebook Stand
Another easy fix. If you work in an office, you’ll find quite a few spare ring binders laying around. You’ll have to glue the flaps’ edges together to keep the binder from sliding around. Or slap some tape on it. Whatever works for you.
You can use the hole on the binder’s spine as an entry point for all your wires, avoiding a whole wiry mess. The space inside the binder can be used to store your hard drive as you’re working. You can even fit a water bottle in there if it’s small enough.
Afraid of your laptop burning up? Carve some slits make the binder vent friendly.
Homemade Laptop Stand
Don’t trust one-sided elevations? How about a removable, four-pronged notebook stand?
Glue some weak magnets on your laptop’s four corners. Then place four rubber door stops underneath them. The power of magnetism will keep the stops attached to the laptop computer, so they won’t slip off.
You may be skeptical of magnets near your laptop -rightfully so. For that, you can always use some handy strips of Velcro. Cut up small pieces of it and glue one side of them. Glue the other side of the Velcro on the rubber stops. Stick those bad boys on when your notebook needs some ventilation.
The best part about magnets or Velcro is you can attach or detach them whenever you wish.
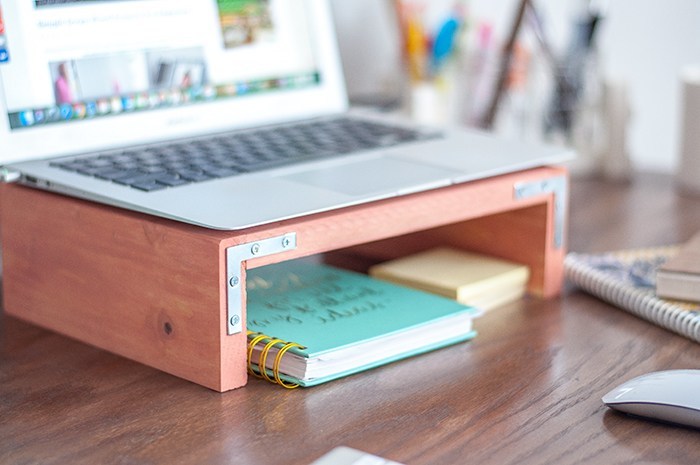
DIY Laptop Table
There are many uses of the physical inbox. While they may be traditionally associated with the acronym GTD (Getting Things Done). They usually have to do with sorting paper.
But, now, you can use this sturdy structure as a makeshift laptop stand. Place your laptop on the top-most section, and you’re good to go. The other few units can be used to store papers, a couple of notebooks, some pens, or whatever fits in there.
You can find this inbox’s in any workplace or stationery shop (if you feel like buying one).
If you don’t trust the inbox’s mesh to act as a vent, you can always merge the ‘Homemade Laptop Stand’ DIY for some extra ventilation.
DIY Laptop Table Made of Books
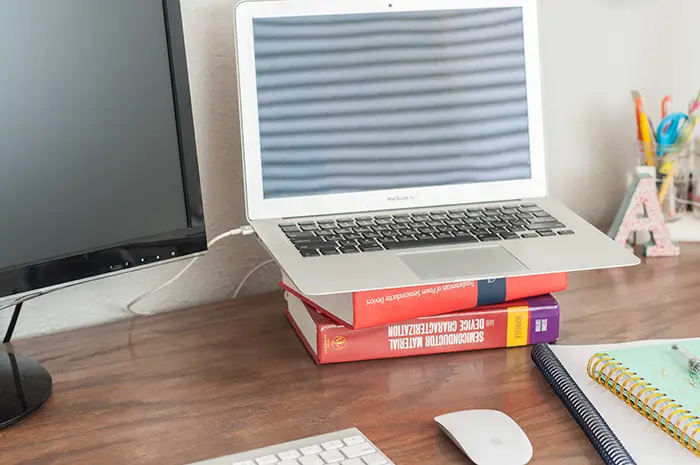
One of the oldest forms of homemade laptop stands. Perhaps, the most versatile, too. You can break this structure down and rebuild it in an infinite number of unique ways.
Books are available in all shapes and sizes. Grab as many as you want, stack them to get an adjustable, robust laptop stand.
That’s not even the best part and you don’t need to take it around with you anywhere. You can find them wherever you go.
Again, if ventilation is your priority, you can be a little creative and place the books in a way that exposes the vents.
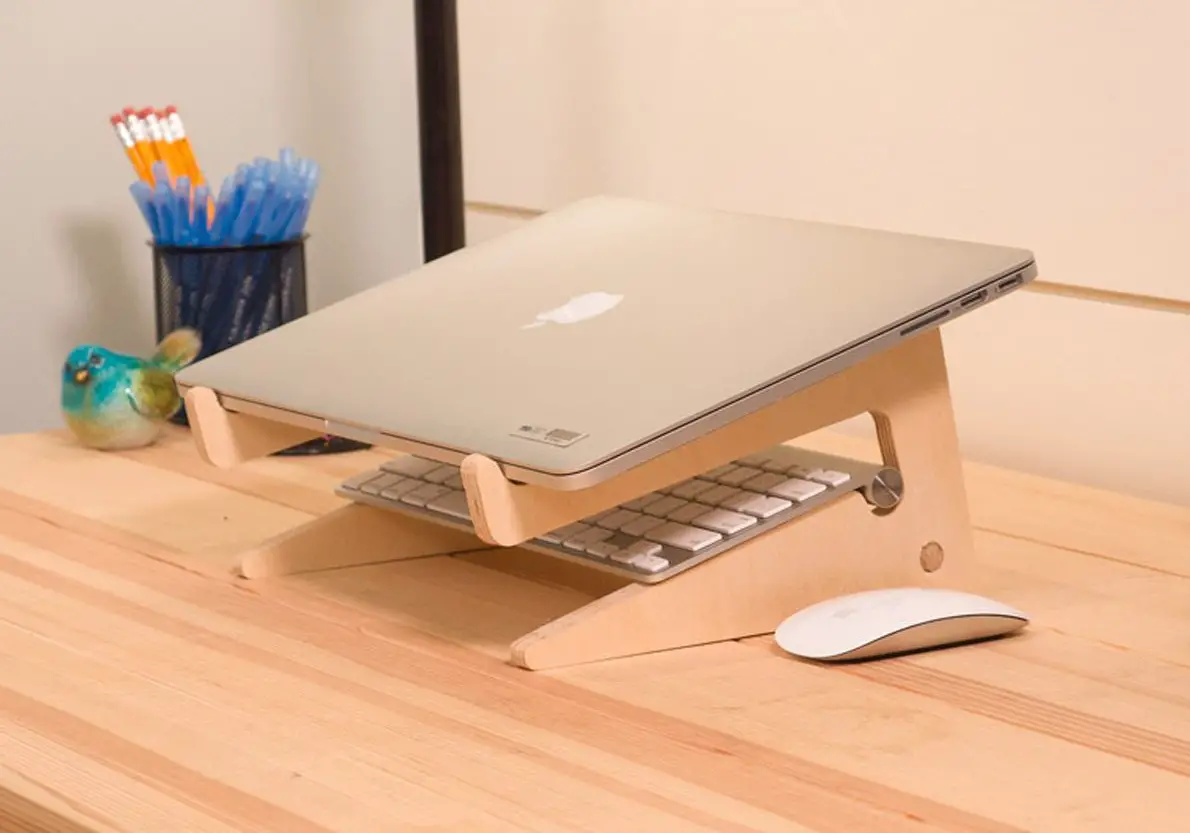
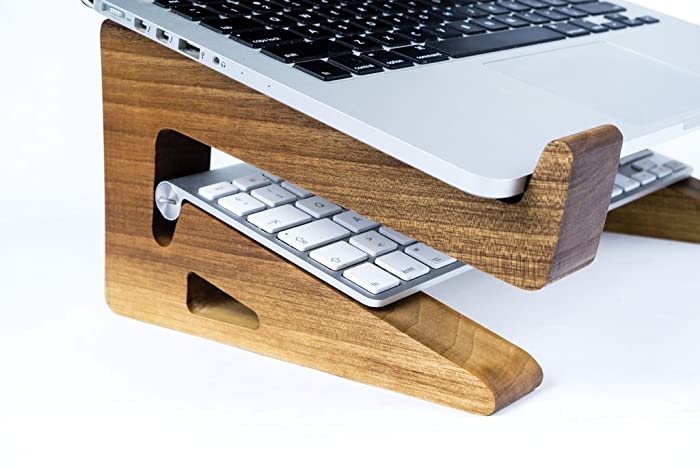
DIY Laptop Holder
Now, we move onto the more handicraft-esque stands. In terms of woodcraft, this is a very straightforward piece.
These are two equal triangular planks with a small hook on the longer end. A partial slit is carved in the center of both planks to allow them to slide into each other. This makes a structure that elevates the laptop when placed on it.
Its architecture makes the structure very sturdy. This, in turn, makes it able to carry a large amount of weight, so you don’t have to worry about it collapsing. Just make sure the wood you use is of good quality.
Since the laptop will be in direct contact with a small area, there’s enough space for the vents to be appropriately exposed.
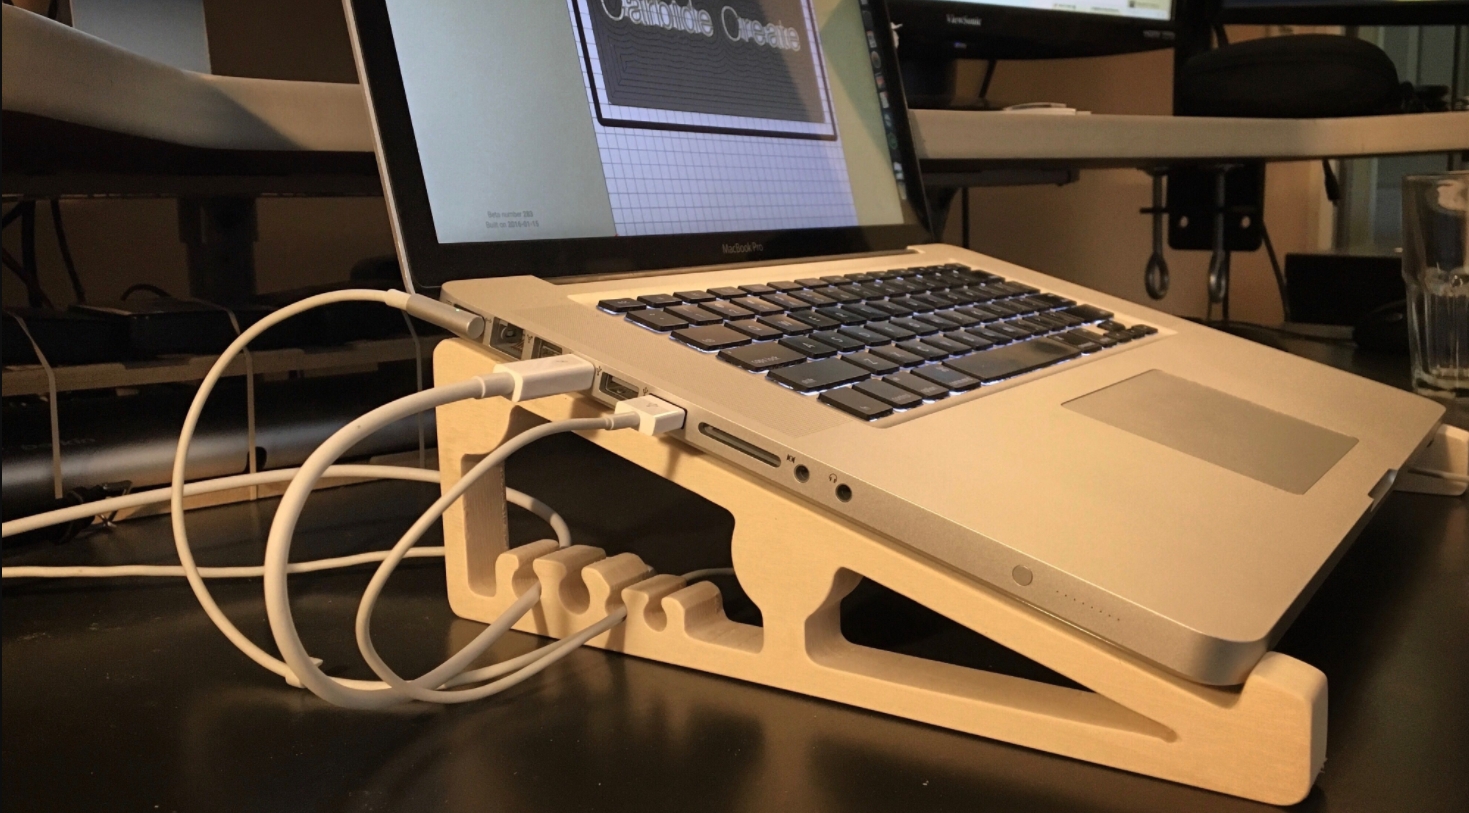
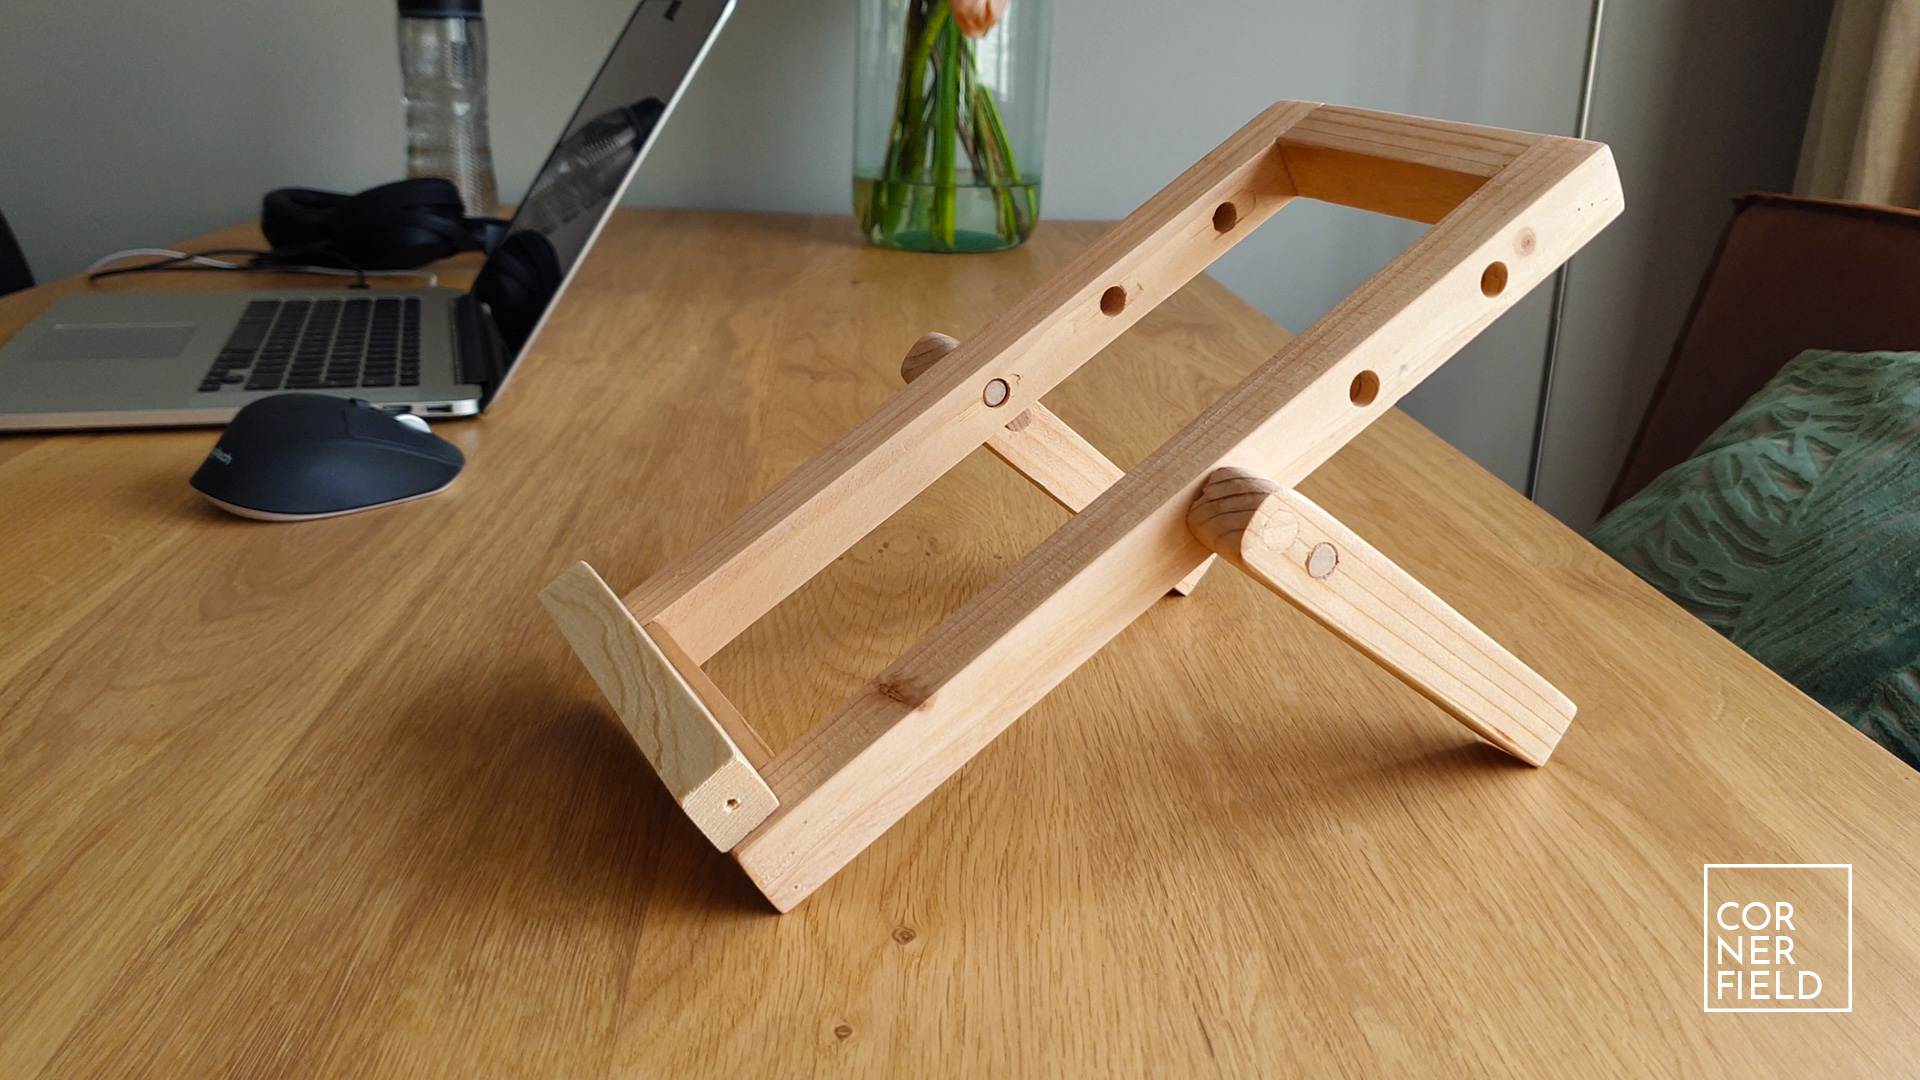
Wooden Laptop Stand DIY
Continuing with more of the handy DIY stands, we’ve got a diy macbook stand you can make with leftover wood planks.
Constructing it is a lot simpler than it looks. All you need is a dozen nails, a power drill, and a saw. According to the size of your laptop, cut three identical planks of wood. When placed on top of each other (with a small gap between each plank), they should be just a little wider than your laptop. Saw these in a 2:1 length by width. The gaps in between are for ventilation.
The next two identical planks will determine the height your laptop will be placed on. So, decide their height as you feel comfortable. They should ideally be in a 16:9 ratio.
After cutting them, use a power drill to fix them together. Add some final touches by sanding the finished product. Paint or polish the stand to make it look aesthetically pleasing.
The gap underneath the stand can serve as a small space for some notepads or your keyboard.
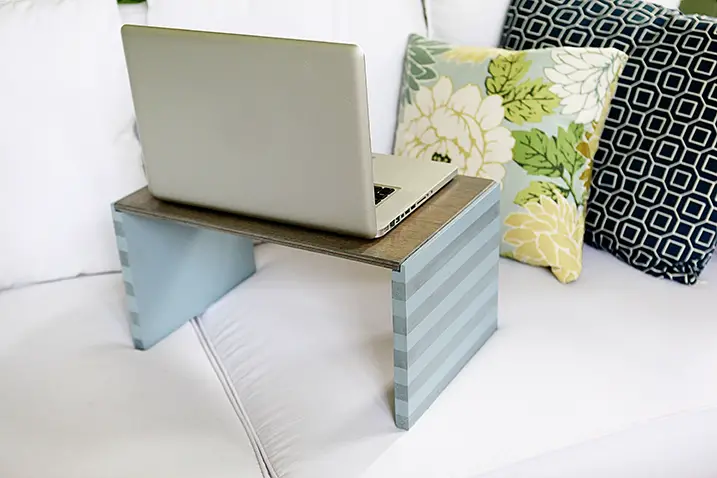
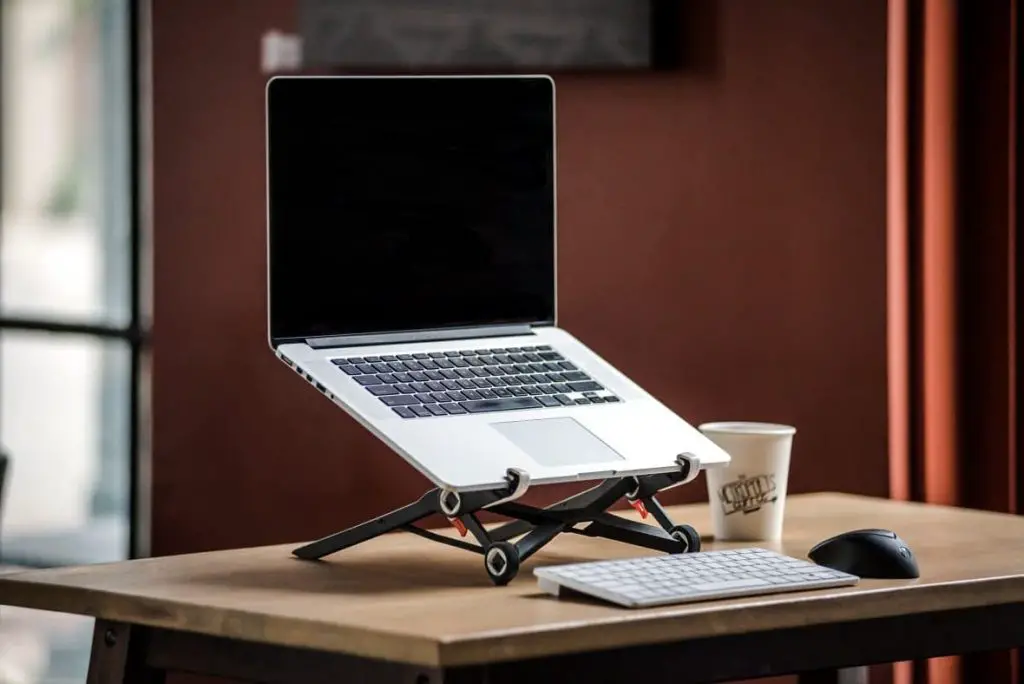
Make your own laptop stand
This is one of the more comfortable laptops stands you can make on your own. It involves a little bit of measuring, cutting, and gluing.
You’ll need to cut a few pieces of PVC pipe for this DIY. One, around 4 inches longer than the length of your laptop. Two pipes around 4 inches wider than your laptop’s base. And two more pipes of a size you think will give you the appropriate height you’re looking for. Finally, you need 6 PVC 90-degree elbow joints.
Use a saw to cut the pipes up once measured. Sand the cut edges to avoid any possible injury.
If you want to make an extra effort, you can paint the pipes to make them look more presentable. If you like a rustic aesthetic, you can leave them as it is.
Next, you are to attach the elbow pipes. Do this by gluing them to the pipes with PVC glue. Attach an elbow pipe on either side of the largest tube. One on each of the height-determining pipes. And one on each of the pipes of a similar width as the laptop’s width.
Attach the longest pipe to both height-determining pipes—one on each side. Attach the last two pipes to these. When connected, the structure should look like the stand in the photo above.
You can also add corks to seal the empty elbow holes.
DIY Laptop Stand FAQs
1. How do you make a laptop stand out of cardboard?
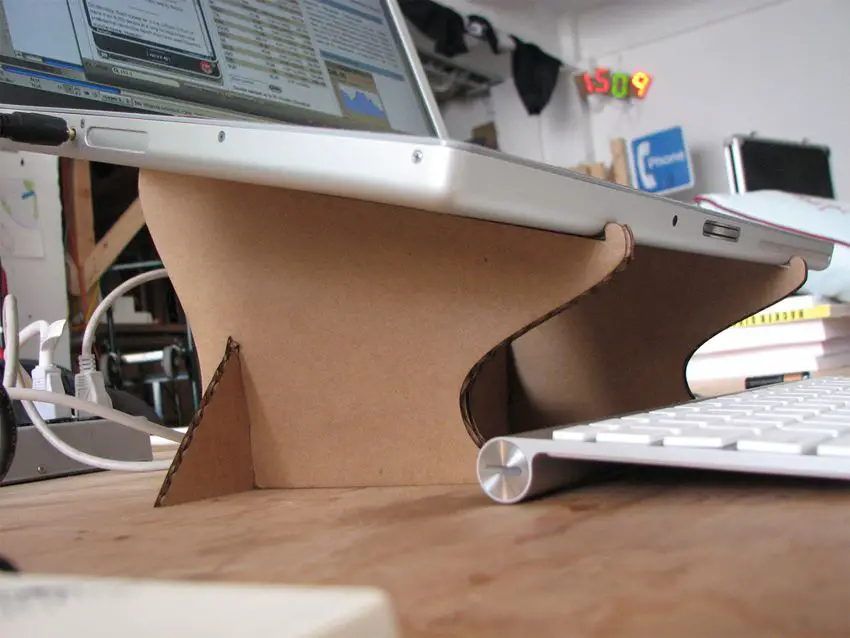
According to popular belief, cardboard is flimsy, weak, and not durable.
That may be the case for a single sheet of cardboard. Still, many ingeniously robust structures can be made from the overlooked packaging material. All you need to do is to experiment with a little architectural engineering.
Or, you can just look up a tutorial on the internet.
Here is one way you can make a sturdy laptop stand out of cardboard.
Firstly, make sure you don’t buy any cardboard as it’s so widely available. If you don’t have any at home, ask some friends, check your office, or go to a store. They’ll indeed have some cardboard laying around in the attic.
For this design, you’ll need a box cutter and some hot glue to construct the stand.
- You’ll need a base.
- A back.
- Two pieces on either side of the base for support and one on the front.
- The stands themselves.
The base should be just a little larger than your laptop. The back’s height will be determined by how high you want your laptop computer to rest on the stand. The supports will be pretty short. Enough to help you hold up the frame and keep it fixed in place. The stands will be six identical pieces. They will be right-angled triangles with two corners flattened.
The base of the triangular shape will be the same length as the width of the base. The height will be the same as the back. The flattened parts will be the points that jut out from the top and the ones that meet the front support.
After cutting the pieces, place them as required without gluing them. This will help you understand how the stand works to avoid any possible mistakes. Trace and mark the points of contact, and glue them together.
Let the glue dry completely before testing it out.
Once it’s all done and dusted, you can paint your laptop stand to match it with whichever aesthetic you please.
2. How do I get the eye level on my laptop?
Getting an appropriate eye level is the most challenging part to achieve.
There is a recommended relative height all laptop users should adhere to. When the lid is perpendicular to the base, the lid’s top should line up with your eyes when you’re sitting upright.
If you have a fixed area where you work, it is a little easier. In that case, you’ll have to first experiment with different heights to see what suits you the best.
Use the temporary, makeshift stands in this article, like a stack of books.
That can give you a decent understanding of the suitable height. Measure the size of the makeshift stand, and you can build your laptop stand accordingly.
This may be a tad more tricky if you don’t have a fixed work area. Adjustable laptop stands will suit you better. These can be tougher to make on your own. They are also more expensive than a fixed laptop stands.
3. What can I use as a laptop stand?

This is probably the most straightforward question to answer.
Anything…!
You can use any solid object with a wide enough base. It should be able to prop up the laptop, or at least elevate it.
Wooden planks, books, stacks of loose paper, an earphone case, glasses case, stationery box, spare pizza boxes. The possibilities are endless.
As long as the object is durable to hold the weight of a laptop, you’re good to go.
The material of the object might be something you should look for. Materials like glass and magnets can be dangerous to use. Magnets, for your laptop computer and glass, because it is already a delicate object.
When you want to expose your laptop’s vents, you will have to be a little creative. That being said, all the objects mentioned above can be used for the same purpose.
Conclusion
Laptop stands are needed by all laptop users nowadays. And not everyone can afford an adjustable stainless-steel laptop stand with drawers and retractable cup holders.
What everyone can do, is to make a DIY laptop stand. Asking a carpenter to build can be cheap in some cases.
Whether you make one yourself, or someone else does it for you, there is a multitude of ways to go about it. It only depends on what sort of stand you need.
A reliable yet cheap laptop stand can stay with you for years if you use it well. All you need is to make the best possible stand.
Good luck on your DIY adventures, and we hope this inspires you to pick up, even more, do-it-yourself projects in the future.