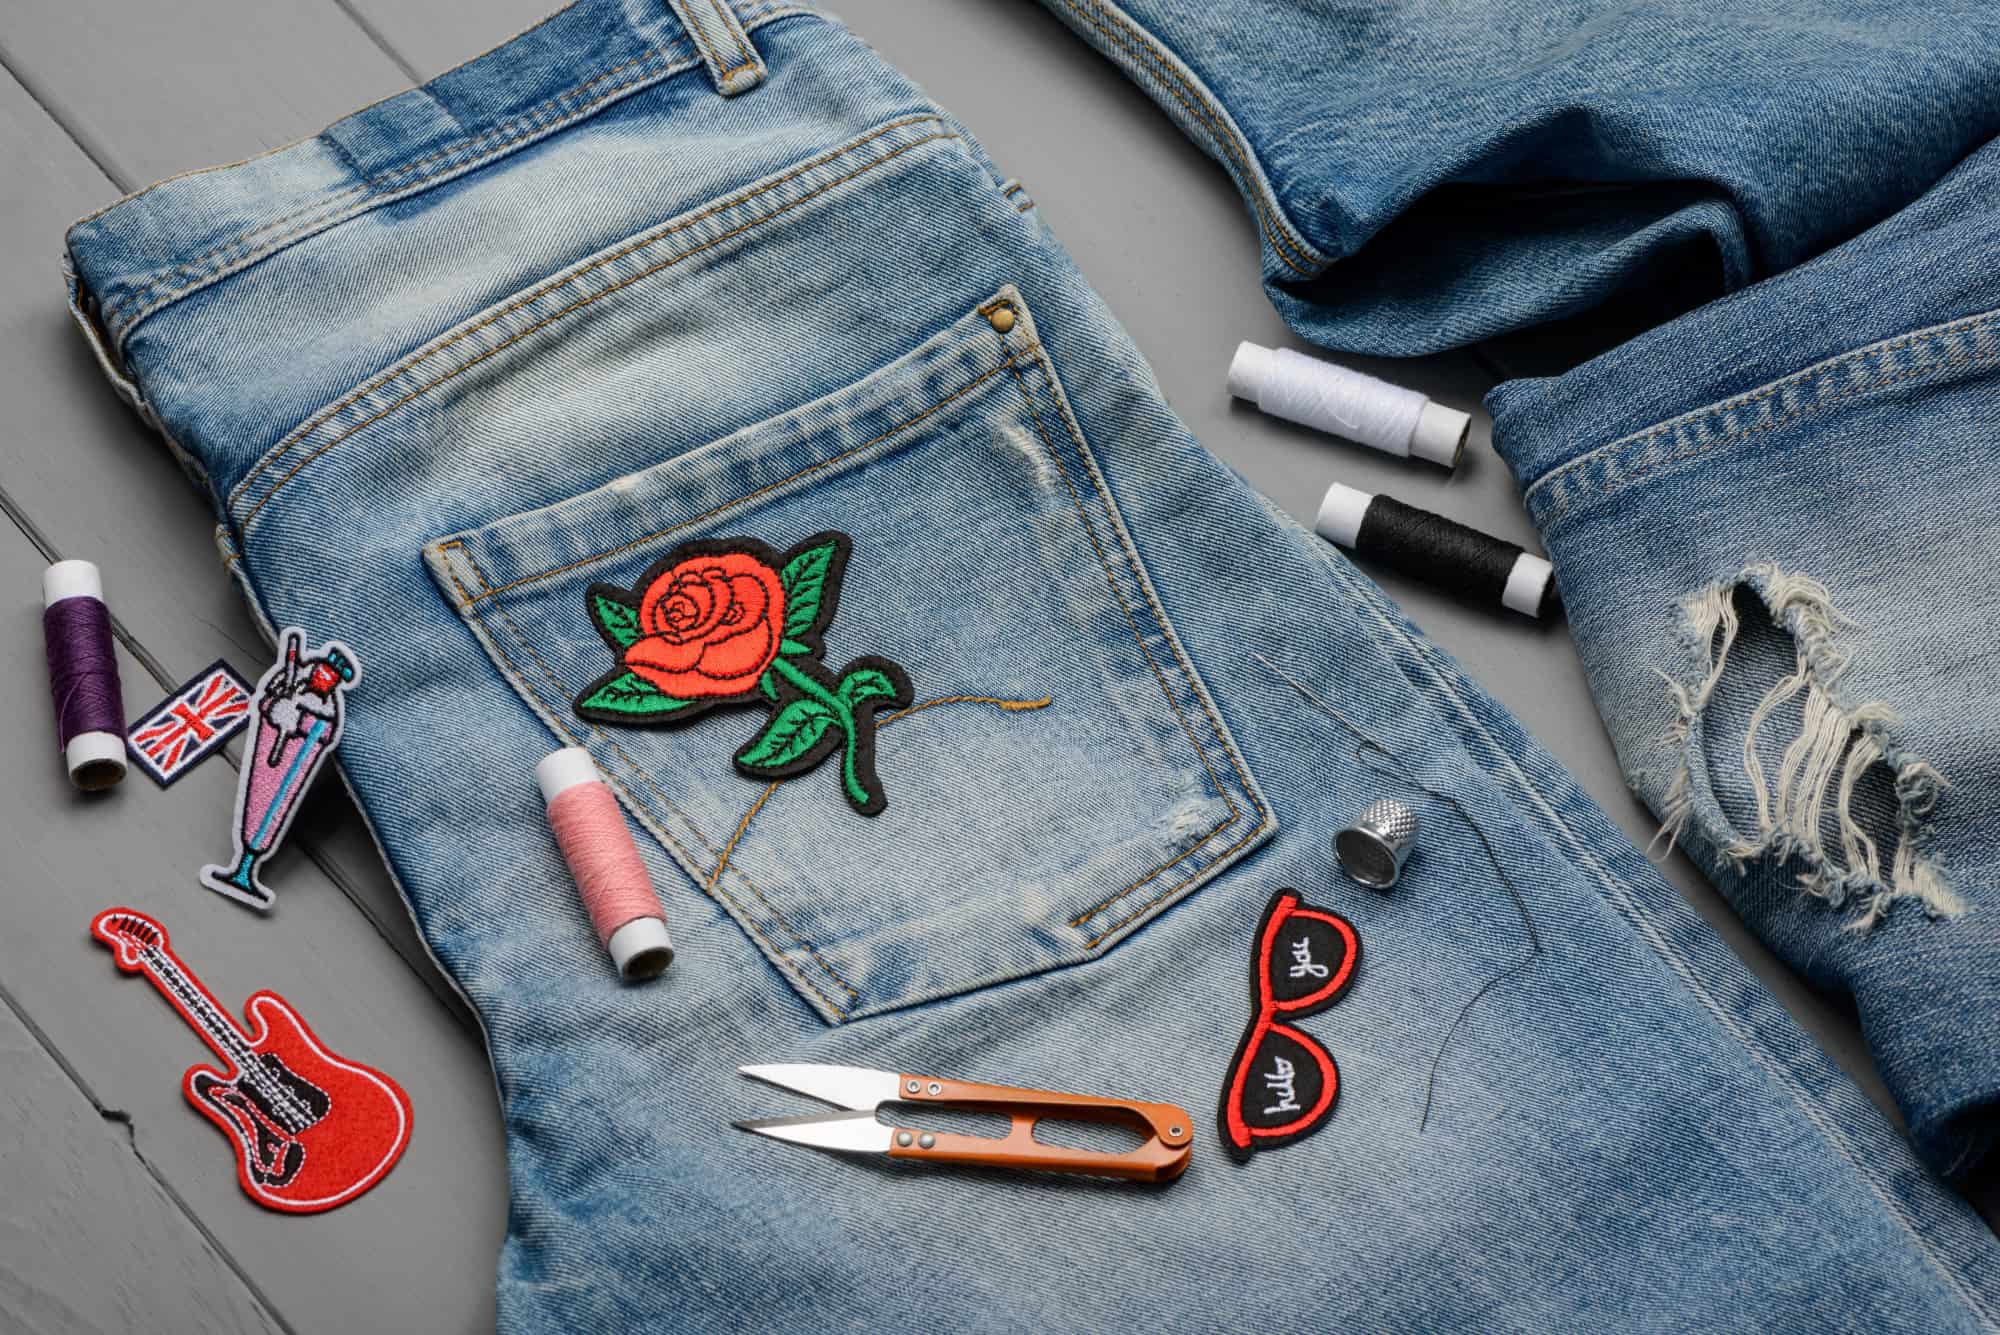
Iron on patches is the best way to customize your items. Whether you want to display your top skills or just to pass on information, these patches can help you renew clothing that has become boring. Many people have used iron-on patches to personalize their outfits or other items such as handbags, sports shoes, etc.
Have you admired iron-on patches on your friend’s holiday dress or camping shirt and wondered how you can make a similar one? We have dedicated this entire post to giving you all the information you need to add your favorite pattern to your outfit. Let us dive into how to iron on patches without taking much of your time.
What You Need
For you to successfully glue your favorite patch on the cloth or any other item, you need the following:
- An iron-on patch
- Iron box
- Ironing board or table
- Cloth or accessory you want to patch
- Pressing cloth
- An electric outlet for your iron box
Before we proceed, please check that you got the right patch. Some are not iron-on patches and are meant to be sewn on the garments. For the iron-on patches, the information you need is on the package. Alternatively, ask the store attendants. Just be sure before leaving the store.
How To Iron On Patches
Patching is a procedure you can accomplish within a few minutes. We have divided into three parts, which are:
Preparing to Iron On Patch

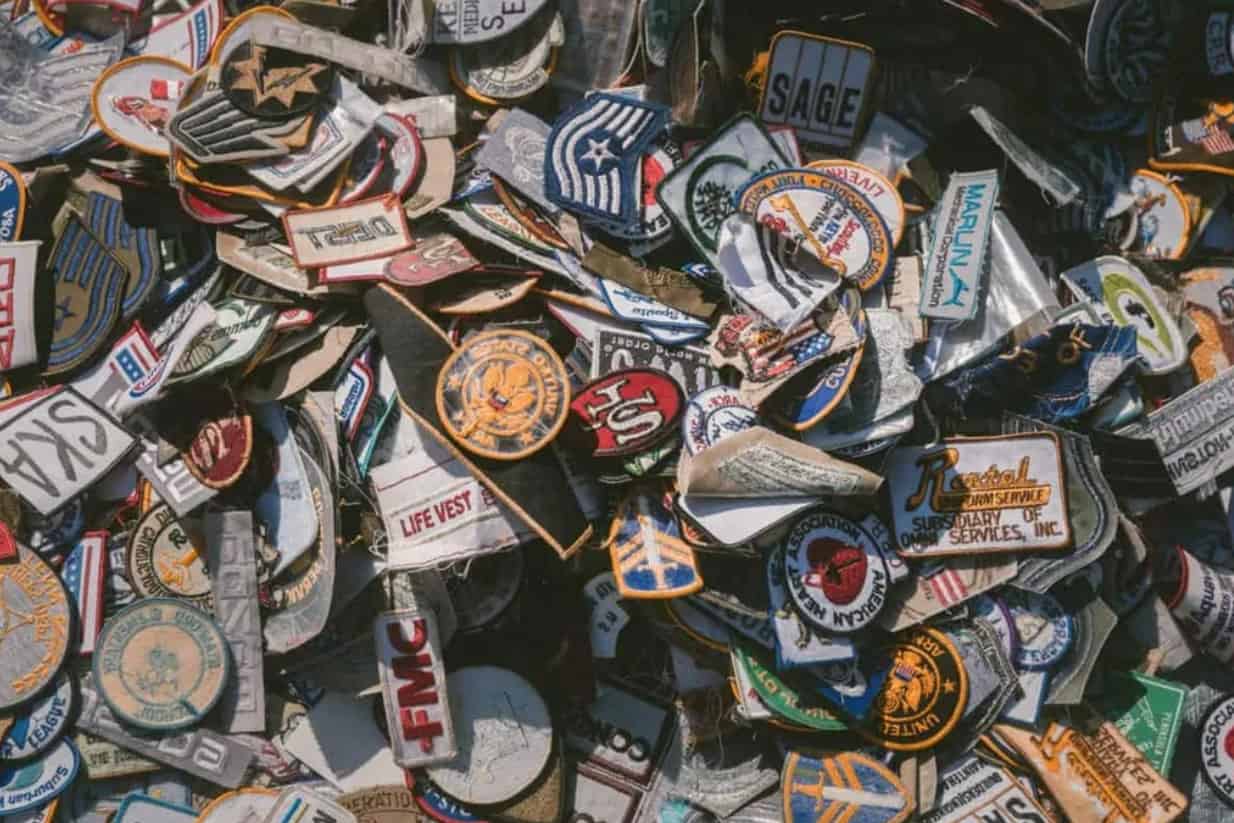
The first step of preparing to iron-on patch is to figure out the type of patch you want and buy it. Some are decorative embroidered fabrics patches. These are usually thick, stiff, and have plastic glue on one side. You will also come across transfer paper patches and custom designed patches. What you choose depends on your preference and what you want to achieve.
The next step is checking the garment or cloth accessory you want to patch. The first place to look for the information is the fabric care label, usually located at the back of the neck of most attires. You need to figure out the type of fabric and heat setting if it is not available on the label. As a general rule, avoid patching silk and other delicate materials.
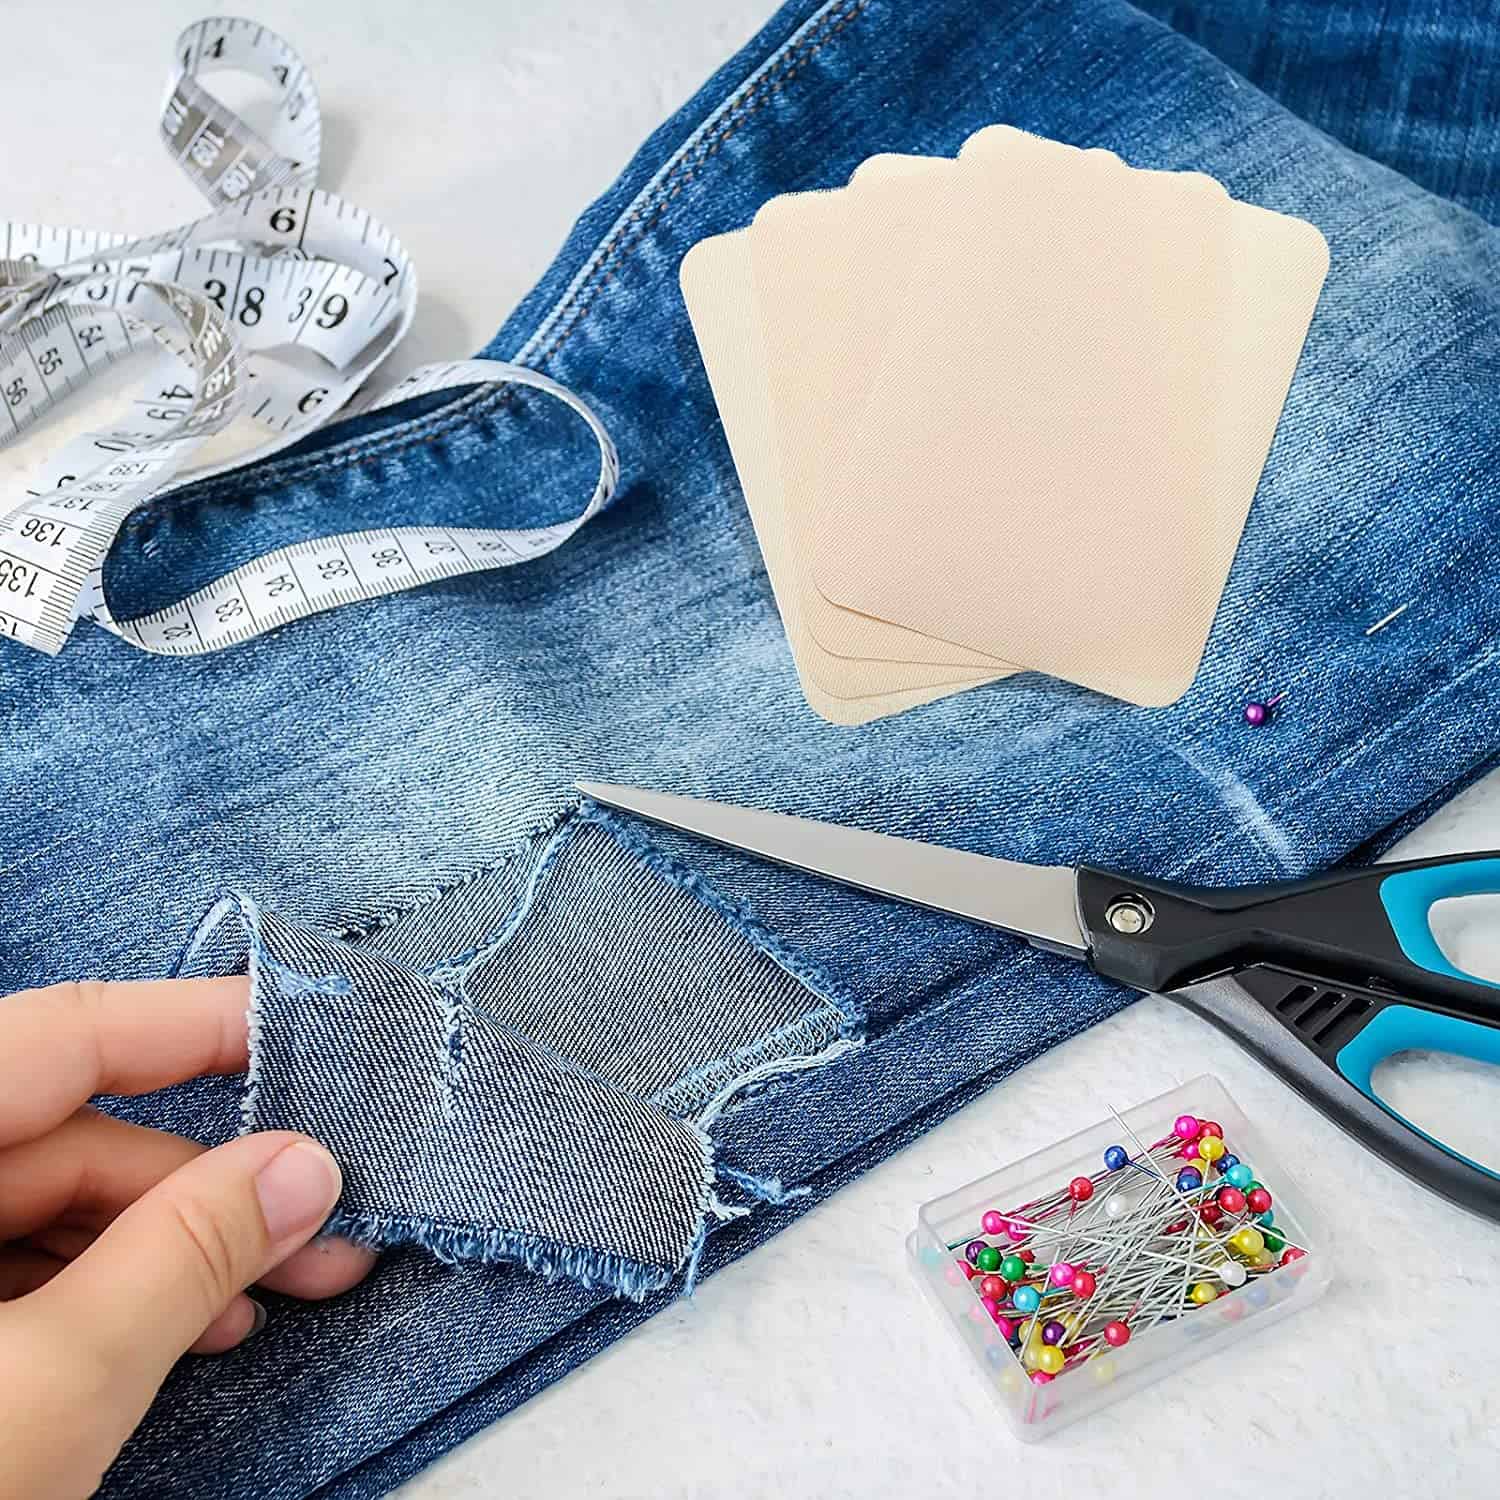
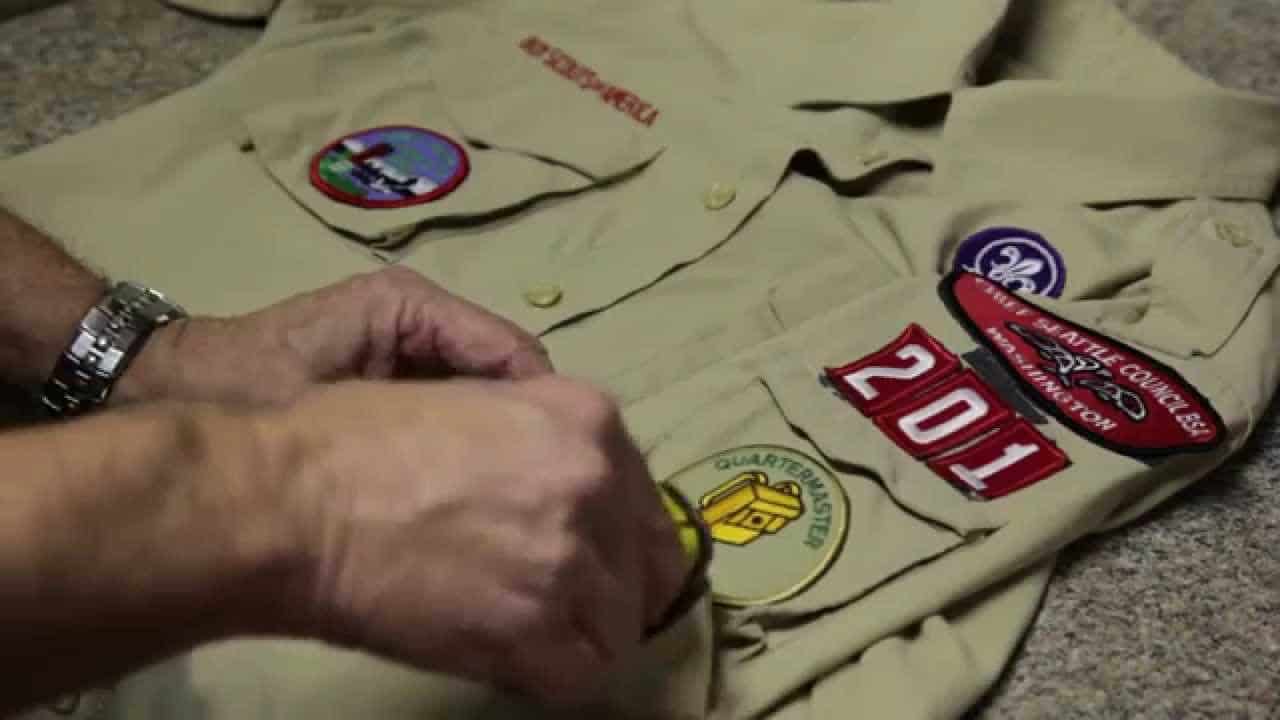
Lastly, think about the design and placement. Which part of the garment or accessory do you want to have the iron-on patch placed? Are you doing it to hide material defects or holes or just for aesthetics? You should know the right spot you will patch and create enough room for all the patches you want to be included. Iron-on parchment is an irreversible process. It, therefore, means you have no room for mistakes.
Ironing On The Patch

As the second part of how to iron-on patch, you should have everything ready. The cloth to be patched and appropriate spots marked, temperature settings required, and a flat board or any other heat-resistant surface. Put it against the hard surface. You may need to first iron the surface to straighten wrinkles.
Place the patch in the marked or desired position with the adhesive side against the base fabric. Usually, you will find the instructions about placement on the package. If that is not available, consider the following tips:
- For embroidery patches, the underside is the adhesive side.
- The adhesive surface on transfer paper patches is where the image is printed.
Plug the iron box into the receptacle to heat up. Meanwhile, place the pressing cloth on top of the patch. That is to protect your patch and the base fabric from the intense heat. Once the iron is heated to the appropriate temperature, press it on the patch for about 15 seconds and then take it off. Apply as much pressure on the patch as you possibly can.
The last step is removing the iron and letting the patch cool down. Remove the pressing cloth to check if the process has been successful. Try to lift the edges of the patch. If you see it come off, return the press cloth and continue ironing for another 10 seconds. Allow it to cool and check again. You may need to repeat the process until the patch firmly adheres to the base fabric.
Caring for Your Patch

Now that you have known what it takes to have the iron-on patch on your cloth, you should care for it to make it last. The first consideration is to sew all around the outer edge with the appropriate thread color. That will prevent it from falling off even when it loses its adhesive property. This, however, should not be applied to paper parches.
Washing iron-on patches will cause wear and tear and make it lose adhesivity. To make your patch last longer, don’t wash the garment unnecessarily. And if you do, consider hand washing and air drying.
Tips When Patching Iron-On Patches
- For the best outcome of the process, you need to follow the steps described and use the following additional tips:
- To make a lasting iron-on patch, you may need to sew all around the edges of the patch
- Iron-on patches wear out quickly under frequent washing. So, wash the patched garment only when necessary. If handwashing, you can skip the exact patch spot.
- Do not use your dryer to dry the iron-on patch. Instead, air it outside when the weather is favorable.
- An Iron-on may fall off after some time, indicating that the adhesive is no longer effective. Just sew it back on.
How To Remove Iron-On Patches

Iron-on patches can be attractive, but they can lose their relevance. Sometimes you are just bored with the patch on your hood and just want it off. So, how do you remove it from your garment? Let us discuss a few methods you can use to remove it:
Method 1: Using Iron
This is the quickest method you can choose to remove your iron-on patches if you no longer need them. To proceed, check the garment label for the recommended temperature to use. You also need a press cloth.
The next step is the heat application. Ensure your iron box heats up to the appropriate temperature and has gained the required heat. Put the hot iron box on the press cloth for about 20 seconds to melt the adhesive. Remove the iron box and the press cloth to check if you have achieved it. Repeat the pressing step until the adhesion loosens.
Carefully remove the patch from your garment. We recommend using tweezers or any other tool to hold the patch. That is to prevent the adhesion from burning your fingers.
Method 2: Using an Adhesive Remover
If the first method is unsuccessful, you can look for a fabric-safe adhesive remover. These are readily available in the nearby retail store and come in many forms, but the spray one is the most recommended for its ease of use.
Some adhesive removers can stain or damage your garment. So, the first step after buying it is to test it. Apply it to the hidden part of your cloth. Allow it to stay for a few minutes and rinse it off. Access the damages and make an appropriate decision.
Depending on the outcome of the previous step, you may go back to the market or proceed with this step. If it worked, turn the garment or item inside out and apply the adhesive remover on the area with the iron-on patch. Ensure the entire iron-on patch is soaked in the remover and try to peel it off after one or two minutes. Give it more time if it doesn’t come off before trying again.
After peeling off the iron-on patch, you will most likely have some adhesives on your cloth. Apply more adhesive remover on them to completely get rid of them.
Can Iron-on Patches Be Machine Washed?
Most iron-on patches are affected by hot water and friction created through rubbing. If you want to machine-wash your patched garments, consider using cold water and turning it inside out. That will prevent direct contact with other clothes that will wear off.
It is recommended to handwash your patch because it is the only way to care for them. But if that is a lot to demand, you can sew patches. These are more resilient compared to iron-on patches.
Conclusion
You can personalize your item with an iron-on patch of your choice. If you like these lovely patches, you can have them on your clothes or accessories. You don’t need any specialized tools to patch. So, look for your favorite iron-on patch and get it done how to iron on patches in an instant.