Hand-polishing tiny metal bits and pieces or stone is impractical. You can make work easier by using a machine, but that is expensive, and not everyone can afford it. Fortunately, you can make a DIY rock tumbler if the machine is beyond your reach. The made tumbler can equally polish and shape pebbles.
A homemade rock tumbler can tumble some of your favorite rocks you discovered at the seaside or are searching for a basic concept for your science project. And in this article, we will look at some materials you require to construct a rock tumbler and provide the procedure for building it up. It is also a unique method of producing precious stones for ornaments.
[toc]What is a Rock Tumbler?
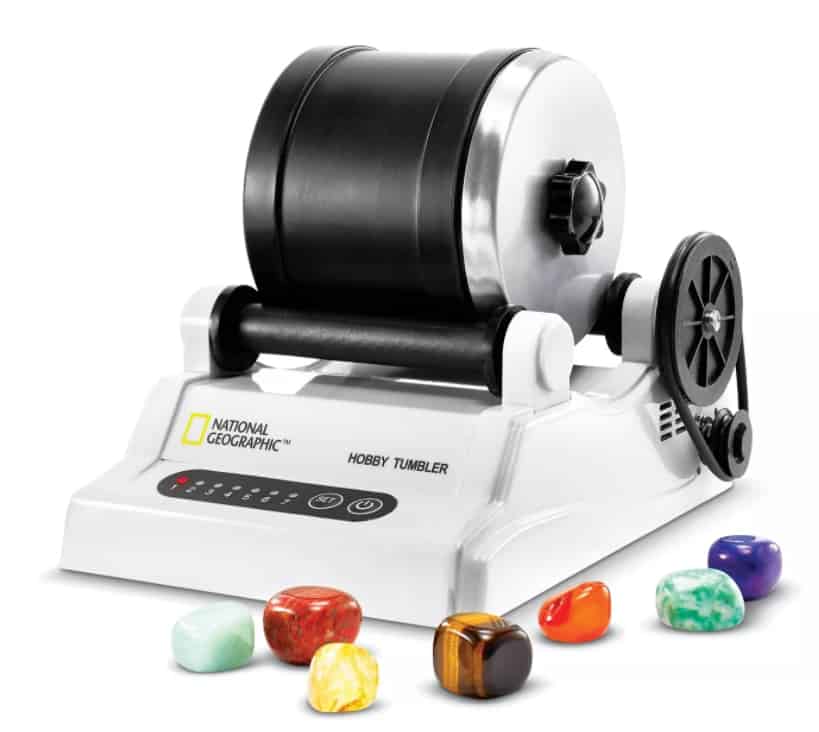
A rock tumbler is a machine that turns ordinary-looking rocks repeatedly in a drum with a mixture of grit and water, vanishing them into smooth, round, magnificent stones. A motor is used in industrial rock tumblers to spin the drum. That is not the case with a homemade tumbler. Instead of the electric motor, a different technology naturally evens the rocks.
Tumblers are popular because they have a nozzle filled with abrasive grit, water, and rocks. The grit is made up of coarse aggregates, similar to the granules found on sandpaper. You can choose either fine, medium, or coarse ones, depending on the smoothness you target.
Grit, water, and stones within the barrel reduce the sharp rock edges as the barrel turns. It is the repeated rotation of the barrel that ultimately shapes and polishes them. That is the same process that naturally wears away rocks. The only difference is that it is made to happen much faster in the tumbler than in nature.
There exist two kinds of tumblers available: rotary tumblers and vibratory tumblers. Rotary tumblers are the most prevalent type, especially among newcomers to the hobby of rock tumbling. These are the ones you have probably seen, with the barrels that constantly rotating. The barrel of the latter type moves back and forth. Rotary tumblers not only smooth and polish your rocks but also plump them out, changing their overall outlook. The specimen will appear more spherical than rounded.
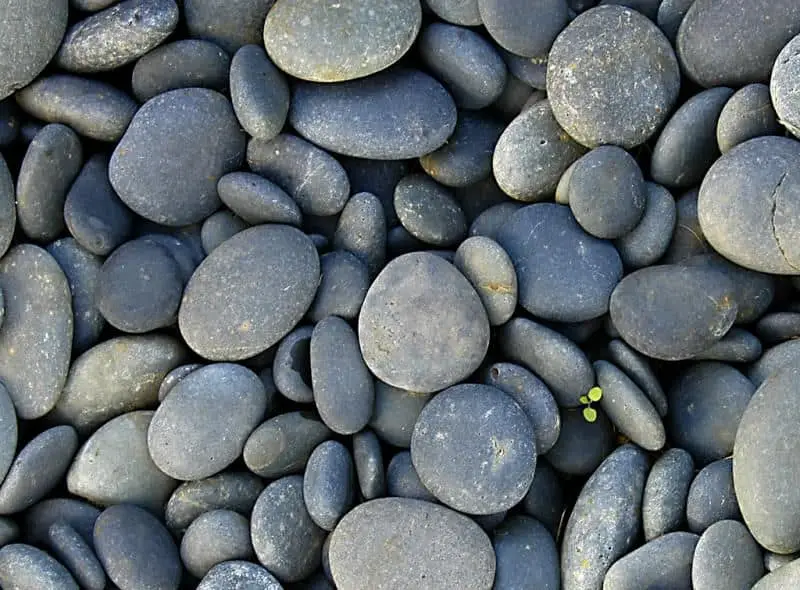
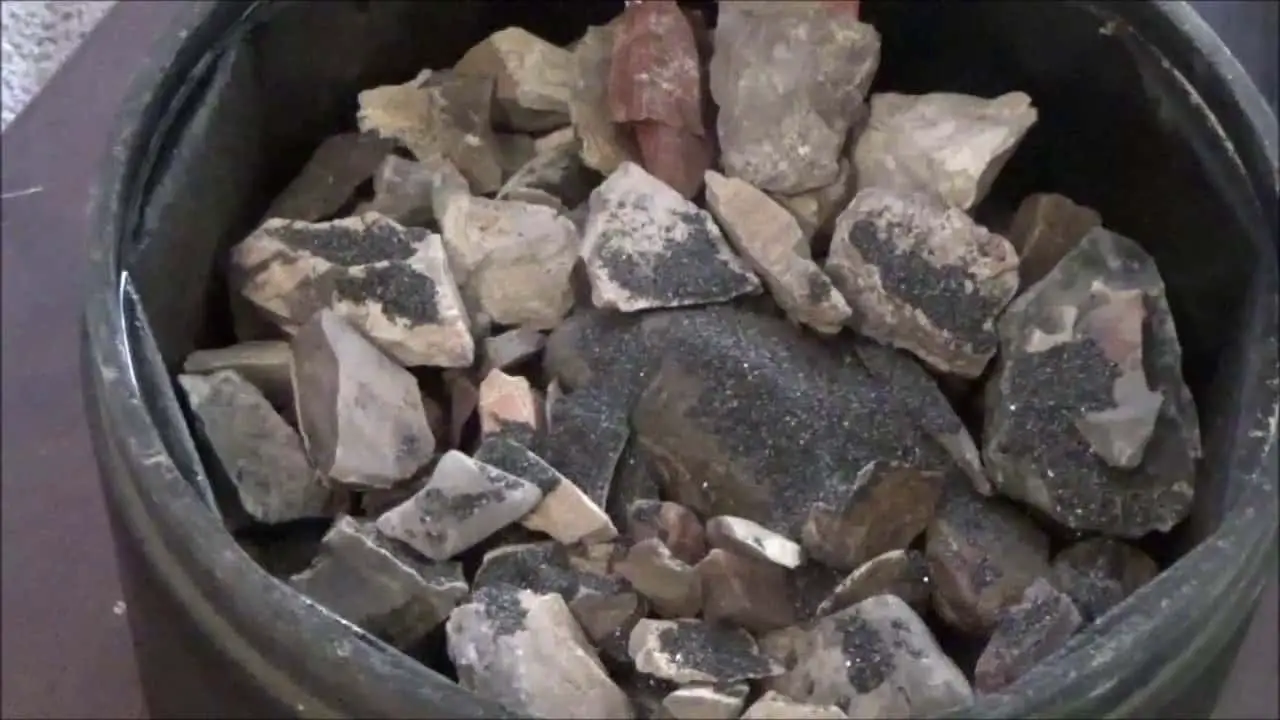
What Type of Rocks Need to Be Tumbled?
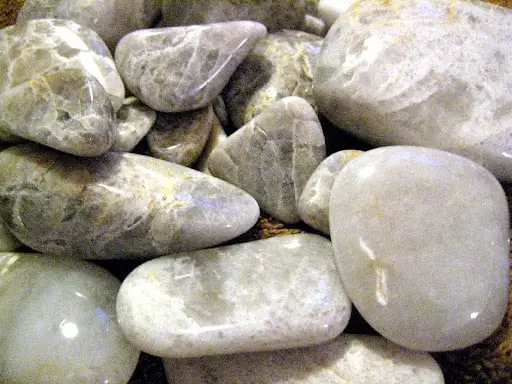
While any rock can be used in the tumbling procedure, it is vital to note that some stones perform significantly better than others. Stones like jaspers, chalcedony, and agate are ideal for tumbling because they are harder and last longer. Furthermore, they provide a luminous polish due to the presence of microcrystalline quartz.
Characteristics you should look for in good tumbling rocks include:
Hard Rocks
Tumbling rocks with a Mohs scale greater than seven should be ignored. A minimal Mohs scale makes the rock fine. It is best done with a spectrum of seven. Stones such as sapphire and ruby are arduous, whereas marble and soapstone are thin. In a tumbler, soft rocks are challenging to smooth. Furthermore, hard stones with a Mohs scale greater than eight do not varnish well in the tumbler. To determine the hardness of a rock, you can purchase a hardness testing kit.
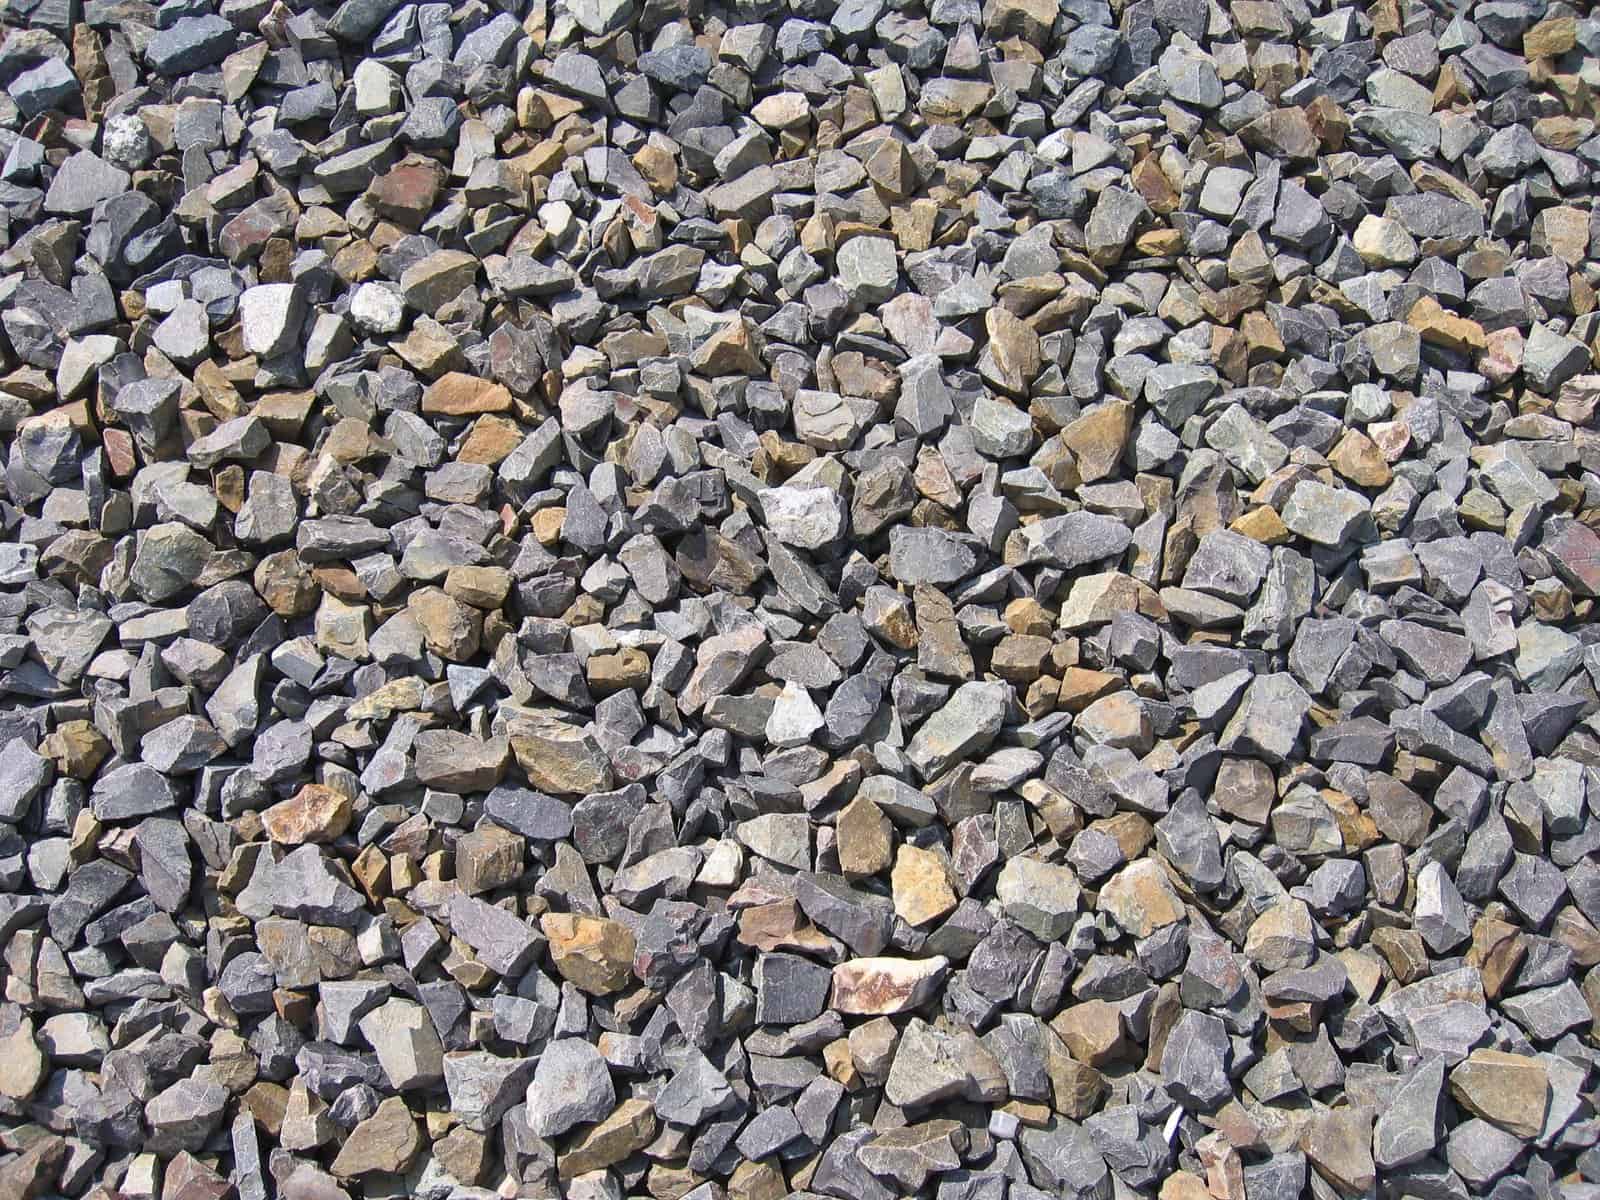
Rocks that are Dense and free of pore spaces
Rocks with pore spaces should not be used because they trap grit and carry it through all stages of the tumbling process. You can never achieve that beautiful finish on your rocks if the buffing step is contaminated. Select dense and solid rocks without void space.
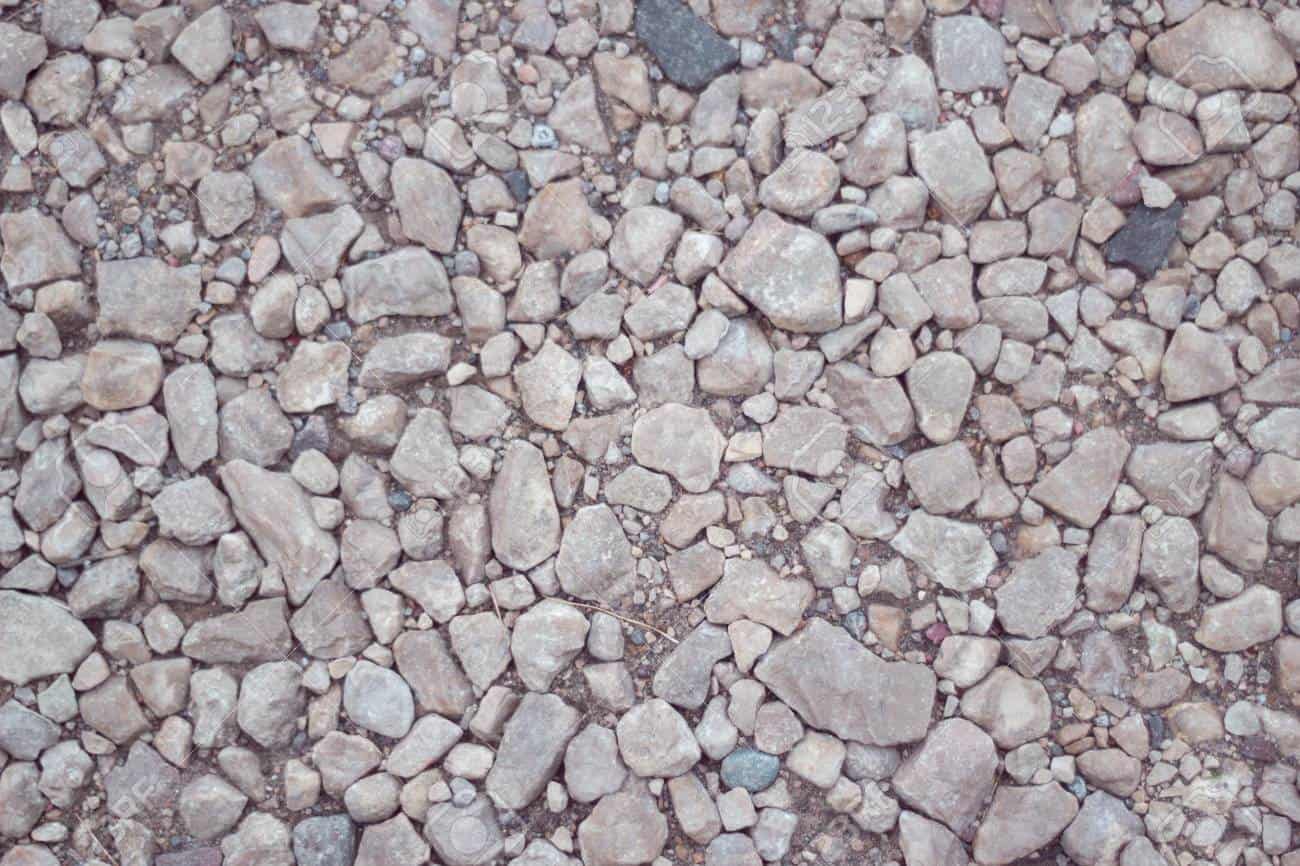
Rocks Free from Fractures
It is critical to choose rocks that are exempt from fractures, porosities, and voids. Check that the stones do not have a granular texture, as this will influence the end product. In a tumbler, fractures could also split up the rock. Furthermore, the sharp edges on these parts scratch each other in the barrel, causing interference with the abrasion process, which should be uniform. Before starting the tumbling procedure, remove any rocks that show noticeable fractures.
Smooth Texture
For clean and smoothly tumbled rocks, the appropriate tumbling stones should be used. You should not pick rocks that are rough or gritty. Rub them against each other to see if any granules fall out. If that is the case, choose different ones because these will not achieve the proper polish.
These rocks can be found naturally. These rocks are abundant in areas with lakes and those with a history of volcanic eruptions. Agates and others can also be found on rocky seashores. Tumbling rocks with a Mohs scale greater than seven should be ignored. A low Mohs scale makes the rocks smoother. The Tumbling process is best accomplished with a range of seven.
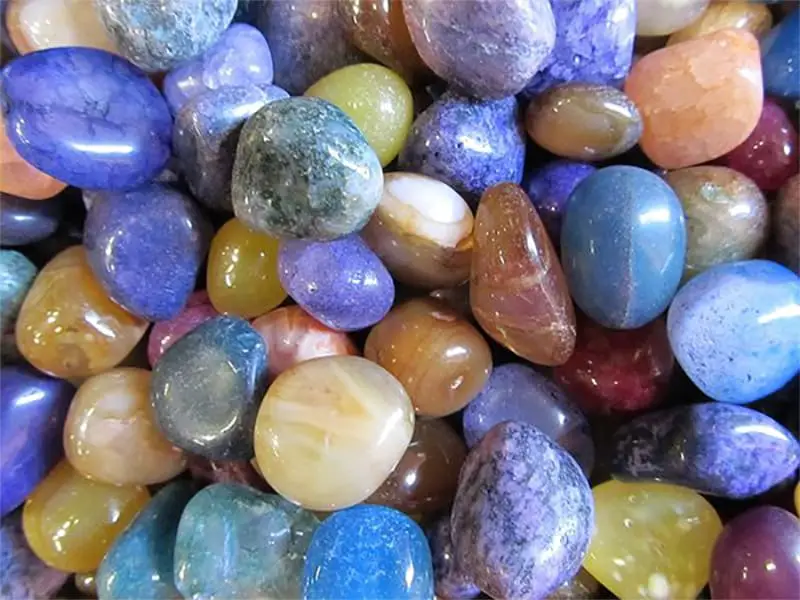
What are the Uses of Rock Tumblers?
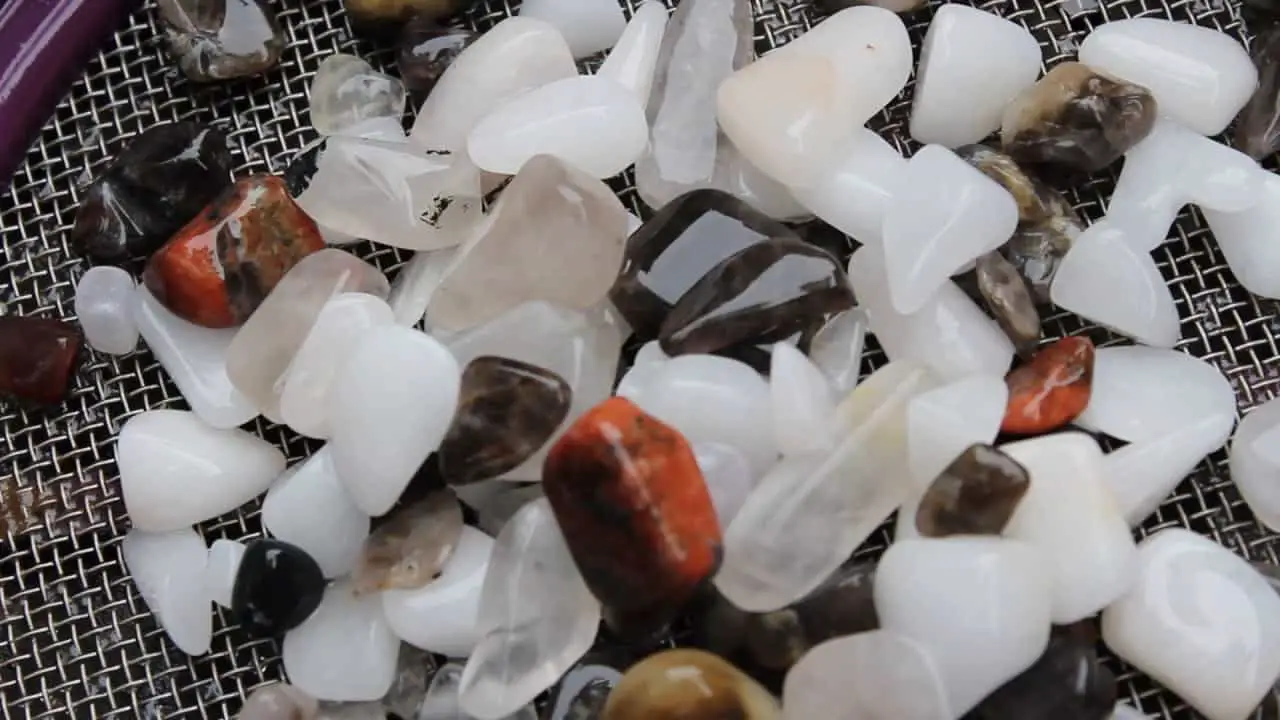
Tumbled products have many uses in and around homes. They are mainly used as decorative elements to add aesthetics to a property. Rock tumblers can decorate the base of your pond or can be planted in pots in your orchard. The following are some of the common ways to do it.
- Jewelry making
- Gift items with etched texts
- Various craft making
- Vase/planter filler
- Holiday decorations
- Keychains and keyrings
- Ornaments
- Magnets
- Paperweights, etc.
What is Rock Tumbling Grit Made Out Of?
Creating a DIY rock tumbler is a straightforward device that your young kids can assist you with. DIY rock tumblers make science fair initiatives and could be used to teach children about the geological process of rock tumbling in nature. This can be both fun and informative exercise for the kids.
This process of creating a rock tumbler is easy and requires very little equipment. The materials needed are freely reachable at home. Sand, Water, Rocks of your choice, and Container.
How to Make a DIY Rock Tumbler
To begin, obtain a plastic container similar to that of peanut butter or mayonnaise. As a spacer, use a metal or any other substance to help you stretch the rod to both endpoints of the jar. Rubber matting can be used to improve the performance of the plastic.
Fill the plastic container to a few inches with equal parts water and sand. The abrasion is caused by the sand, which is a function that evens the rocks. You can start with coarse sand and work your way up to fine sand as you observe the rocks becoming softer. Water and sand combine to form a sludge known as grit.
A hole must be drilled in the middle of the lid. Make sure it’s compact enough to fit a bolt snugly. Apply hot glue or super glue to the area around the hole. But if you can’t find that, use O-rings or hard plastic.
Insert a bolt through into the hole and check to see if the bolt protrudes from the upper end. Stiffen the second bolt to instantly lock the posture. Allow enough time for the glue to dry. Screw on the lid and add the rocks.
To ensure that the bolt does not move, stiffen the drill around it. Allow the rocks to plunge by pressing the trigger. The rock tumbling method commences with rough-edged rock and ends with soft rocks with a glossy coating. You should be aware that the tumbling process could take a month or more.
A homemade rock tumbler mimics the natural stone softening process. Stones in streams and rivers tumble naturally as a result of the water flowing. When you put rocks in the jar, they collide and eventually mix with the grit. Keep in mind to start with coarse sand and work your way up to fine sand. If you want to get better results, silicon carbide could be used instead of sand and water.
How Long Does the Tumbling Process Take?

The sequence of rock tumbling differs depending on the nature of the rock. Soft rocks, such as fluorite, marble, calcite, and obsidian, take the shortest time to shape and polish. That is because the abrasion process is more effective on them. Marble and calcite have a Mohs hardness of three and will round pleasantly in three days or less.
Obsidian and fluorite have a Mohs hardness of 4-5.5 and can take up to five days to round splendidly. Harder rocks with a Mohs hardness of seven, such as agate and jasper, take longer to shape and frame. However, the outcomes are impressive after all of the patience.
Conclusion
Rock tumblers are commercially available, but they are expensive. Fortunately, homemade rock tumblers will suffice. Whether you want to tumble rocks picked from the beach or a basic concept for your science assignment, the DIY tumbler will serve the purpose.
This is also a unique method of producing polished stones for ornaments and jewelry. You no longer have to buy flowerpots and paving stones if you have a rock tumbler. A DIY rock tumbler is and can enhance geology lessons.
