There is a difference between a quality sound and any other sound. Most cinema halls use different techniques to create a unique sound that will always attract people to it.
You, too, can enjoy the best listening in your house or home theatre using any of these DIY acoustic panels we have listed.
[toc]What are Acoustic Panels?
Even before trying the DIYs, you must understand what acoustic panels are and why they are essential. Have you ever been in a place or room where music is loud, or people are talking, but you struggled to get a thing? I believe you have.
That room lacked something, and that is a sound panel. These devices control echoes and any other reverberating sound in a room. The result will always be a clear and softer voice that is nice to the ear.
You can make sound panels using either insulation or acoustic foam. The foams absorb higher frequencies of up to 500 Hz, while insulation such as fiberglass absorbs up to 100 Hz.
Most people cover the panels with fabrics that can complement the room’s decoration and absorb some sound. Where you place, the panel is always up to you. You can choose to let it stand free or mount it on your wall or ceiling.
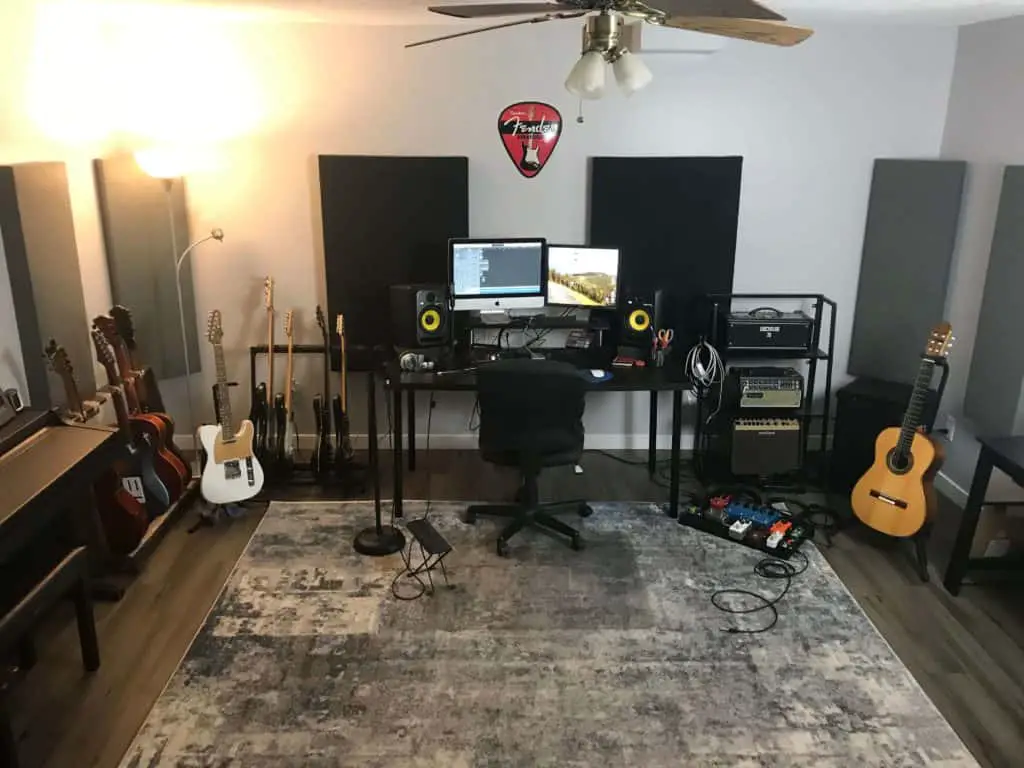
DIY Recording Studio Acoustic Panel
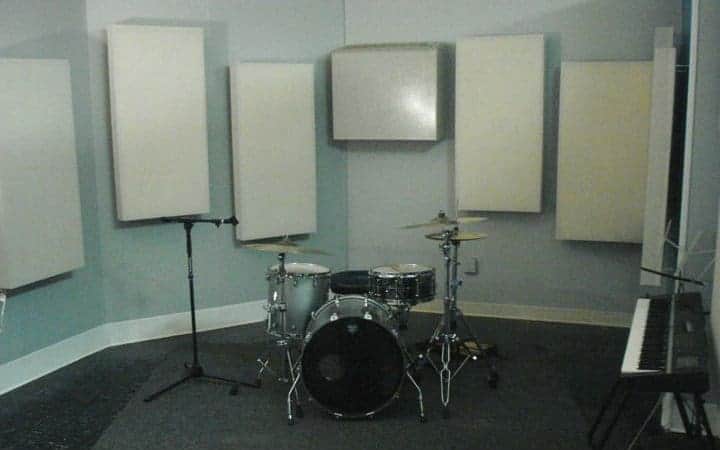
You can beautify your recording studio using different cute designs. You will need panels and some sheets, which you will trim to give MDF frames. Why waste time trimming wood yet you will cover it? No need.
You will also need some smaller MDF to help you hold the panels to the frame. To give the boards a fabric touch, cover them, stretch them, then staple them in place. Trim the rigid insulation and tack the edges. You will have a fantastic studio always to hang around.
DIY Acoustic Sound Proof panel
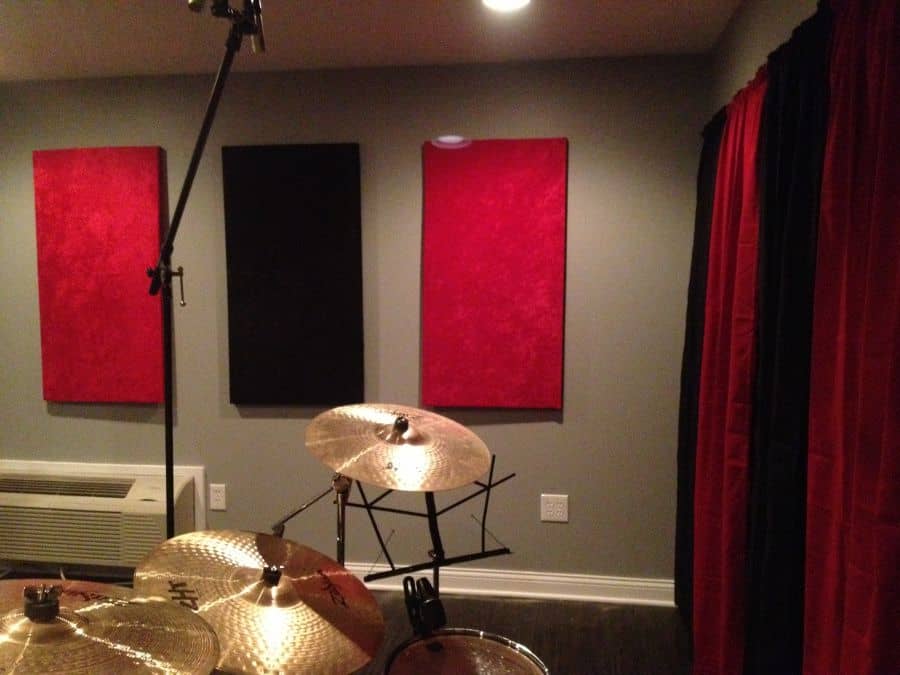
With simple stuff, you can build an elegant sound panel. And who will not say or think that you are a pro?! Tims created this 2’’by4’’sound proof using a 1’’by 2” woods, and the quality of the frame is outstanding.
The screws bring out a flush result. With a cheap mattress and an inexpensive velvet, the acoustic panel can absorb too much sound and shine and dazzles.
Note that you must stretch the cloth to make it fit well on the panel. Some staples will save some of your energy. And since you do not need too many holes on your wall, a single hook can hold it in place.
DIY Home Studio Acoustic Panel
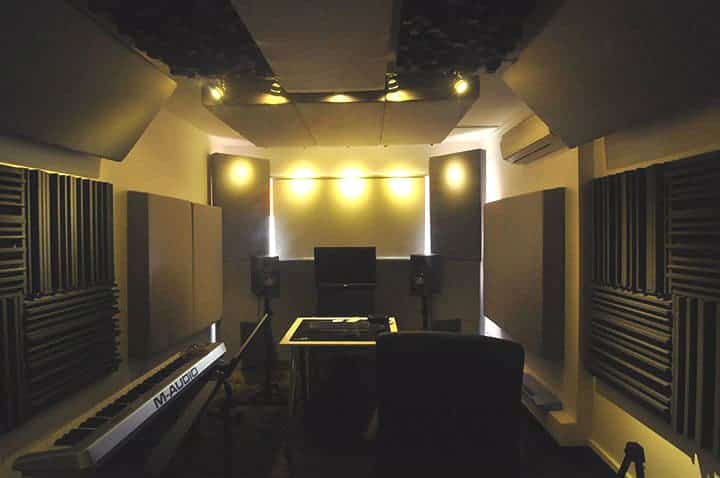
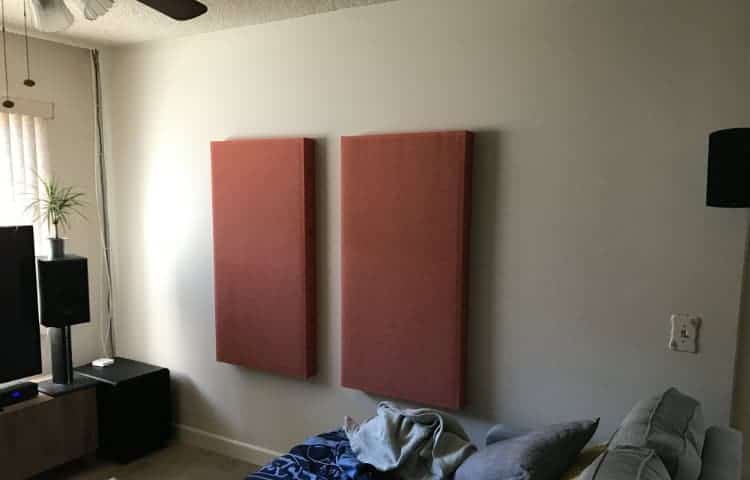
The color of fabric you choose for your acoustic panels not only adds oomph but life also. This breathable fabric gives the room a classy touch.
For this project, you will need two fabrics, each with different dimensions. You will need an insulation sheet beneath the fabric on the flat surface. You do not need to see funny fabric creases. So, pull taut the fabric as you staple it at the back of the frame.
You will not fail to appreciate the airspace behind the frame, which serves as a bass trap. French cleats hang the panels so well on the wall.
Make Your Acoustic Panel
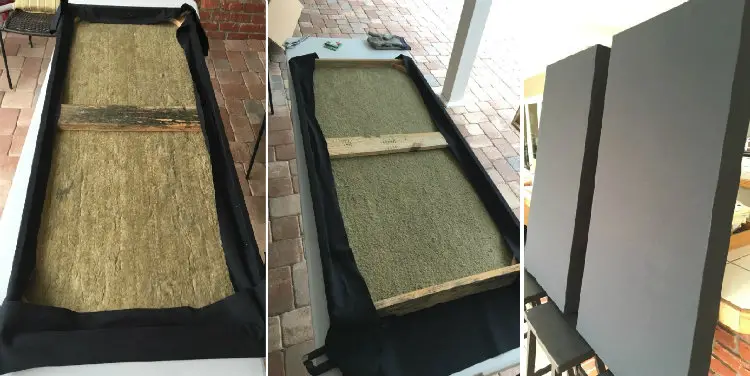
You will appreciate this guide with pictures on how to make this outstanding acoustic panel. You will need Rockwool panels; you will love how rigid and the outcome they give. Make the frames using furring strips and get a beautiful, breathable fabric from a local shop.
If you wish to get the best acoustic work, you will need to have the best material to absorb sound. The craft also has sturdy wood to help you hold the fabric tight and provide a platform for mounting using your hardware.
DIY The Sound Absorber Acoustic Panel
Since you love the quality sound, you will need a quality panel that absorbs all unnecessary noise. You need to try this DIY craft if you are the kind of person.
The panel uses thick sheets of Rockwool, of course, to provide rigidity, furring strips, and breathable fabric. You need your thing in good shape and sturdy. Adding wood will reinforce the middle, the corner and hold the insulation in its position.
The unique z-clips can help you hold the panel in place. Though, no one will see them, so use whatever you find available.
DIY Thick Board Acoustic Panel
One advantage of using a thick material when making an acoustic panel is that your sound frequency will have a higher spectrum. You will need some furring strips and frames that will help you create rigid insulation for this broadband panel.
You do not need the frame overweight; cutting some holes beneath the frames and on its sides will help you out. Besides, the holes absorb possible reflected sounds.
The insulation needs to fit in the frames. I hope you will not mind trimming it. This panel is quite heavy, and a weak hook may not sustain its weight. Please, find a more robust wire to hold it in place. Or rather, a French cleat can still do a perfect job.
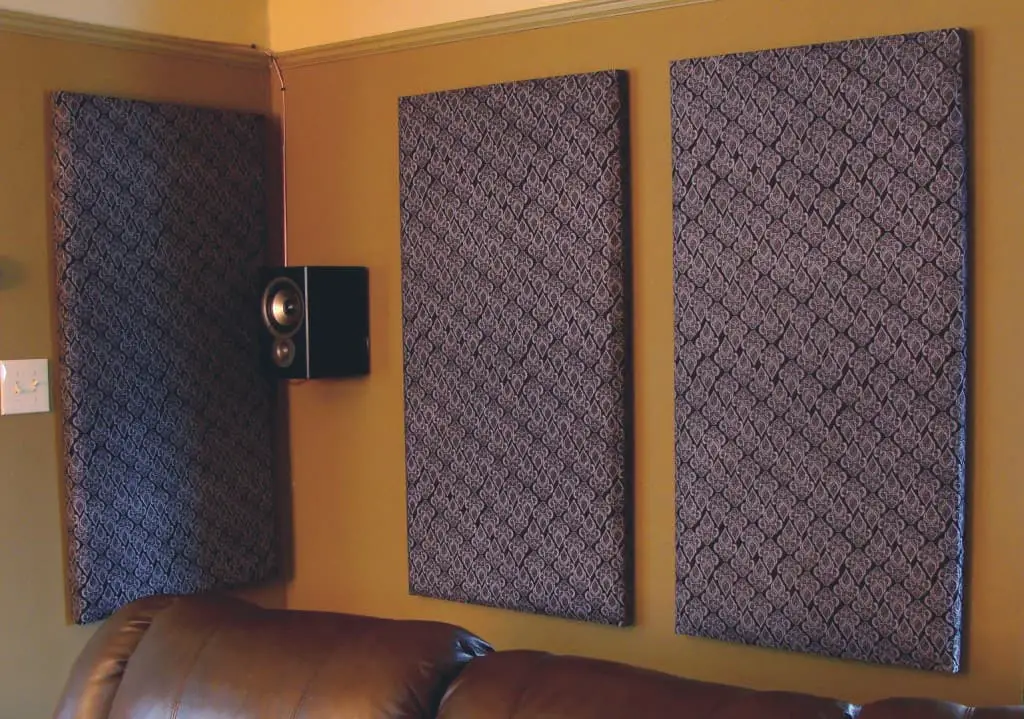
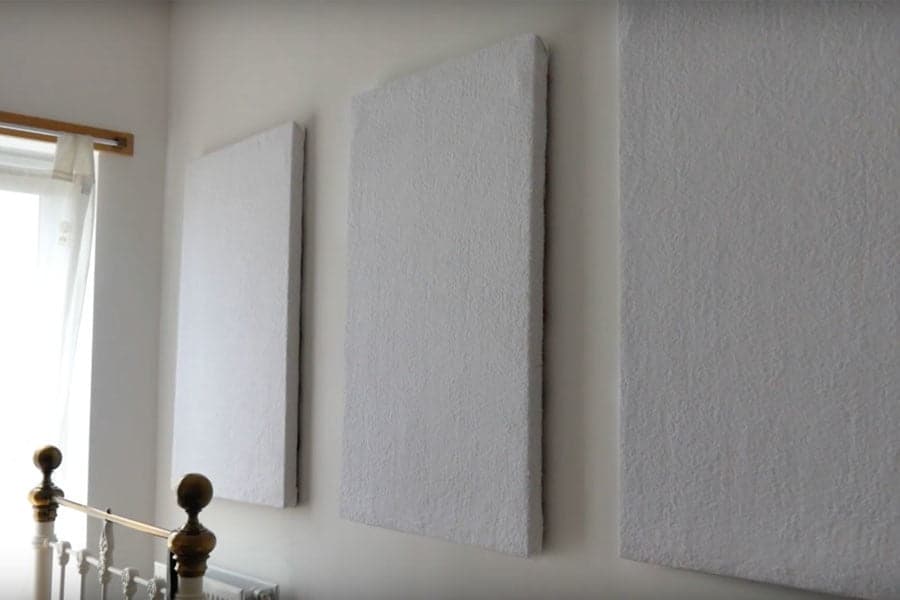
DIY Decorate Your Walls Acoustic Panel

Acoustic panels can decorate your wall, too. While someone thinks that you only have a flashy and classy room right within you, you will understand that it does not only satisfy the eye but the ears, too.
You will appreciate the role of oak plywood frames in absorbing sound. It is hardwood, and that is what it can do best. Staining it with espresso makes it yummy together with the coffee bean sack face fabric. I am sure this tempts you to try creating one!
Do not ignore tacking the fabric secure in the frames using furring strips. Besides, thick insulation will fit well in the frames if trimmed to the appropriate thickness.
DIY Frameless Broadband Acoustic Panel
You can have your panel thick as you wish. Fiberglass can be ideal here. You also want your bass trapping to improve; a foil coating is a great deal.
Aerosol glue plays a perfect role in holding the insulation sheet on the panel. The hot glue will also secure your fabric’s corners and seams. Does watching help you understand more? I hope you will try this out.
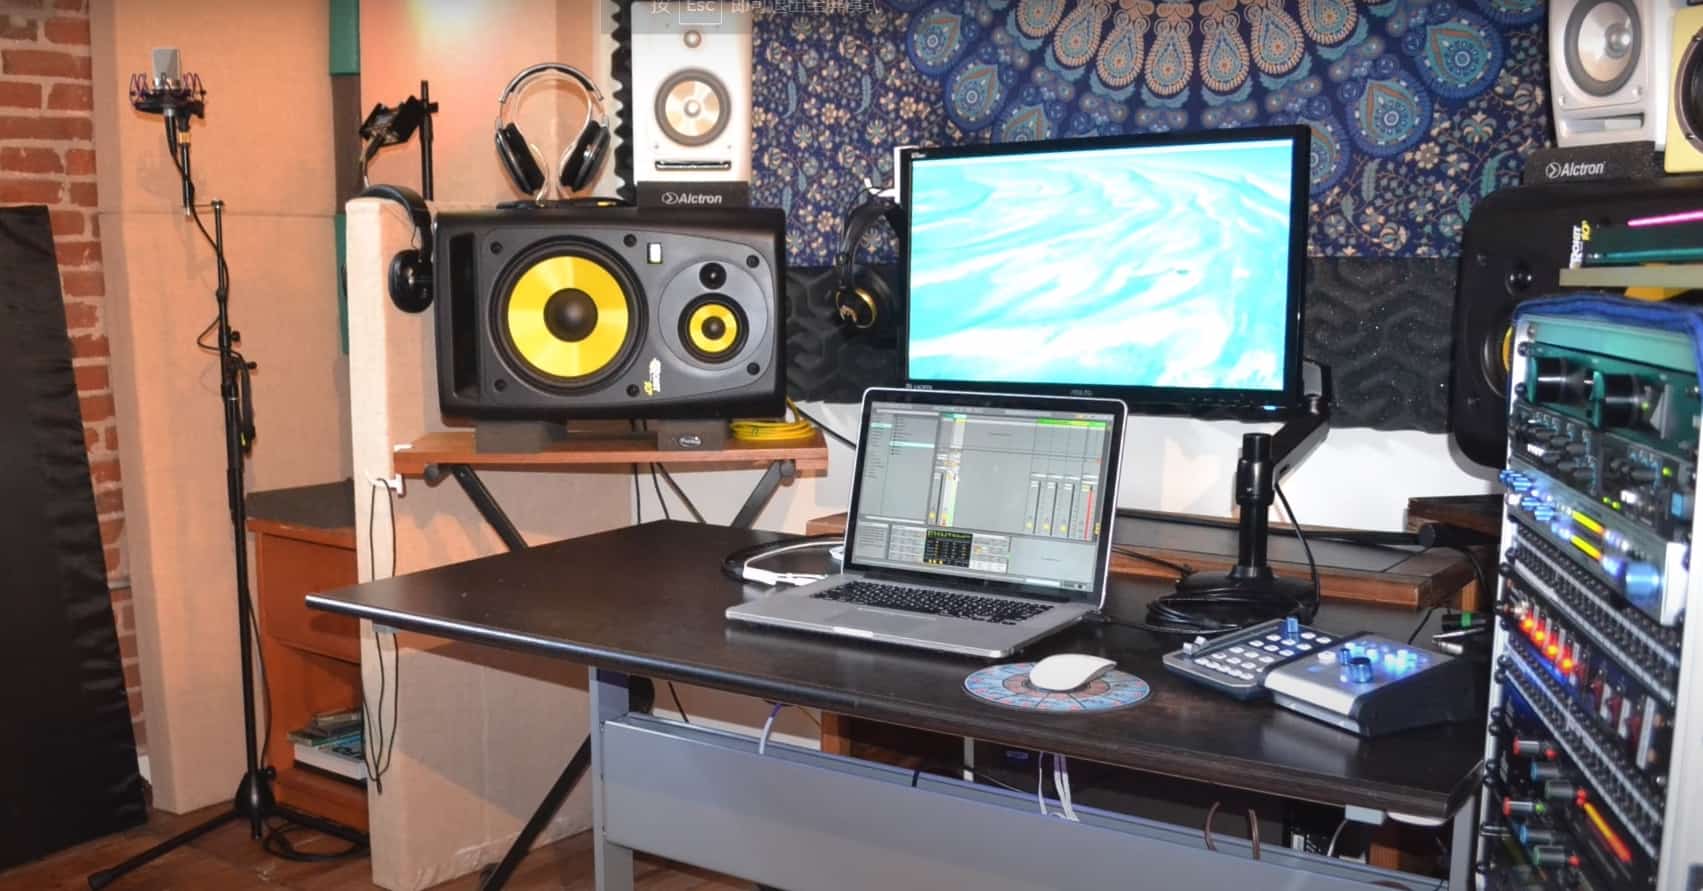
DIY Home Studio Acoustic Panels
Roxul battens and pine can make a fantastic panel for your home studio. If you combine these two with metal corner brackets, you will appreciate their strength.
Pull your expensive and pretty breathable fabric to the front and leave the cheap muslin at the back frame. I hope you will not mind ironing the fabrics to remove the ugly creases.
I love felt pads- they are attached to the back of the frames. They protect the wall and prevent air from being trapped in your panel. It is such a nice way to enjoy the calm, air-free sound. An 18-gauge picture wire will help you attach these panels to the wall.
DIY Ceiling Acoustic Panels
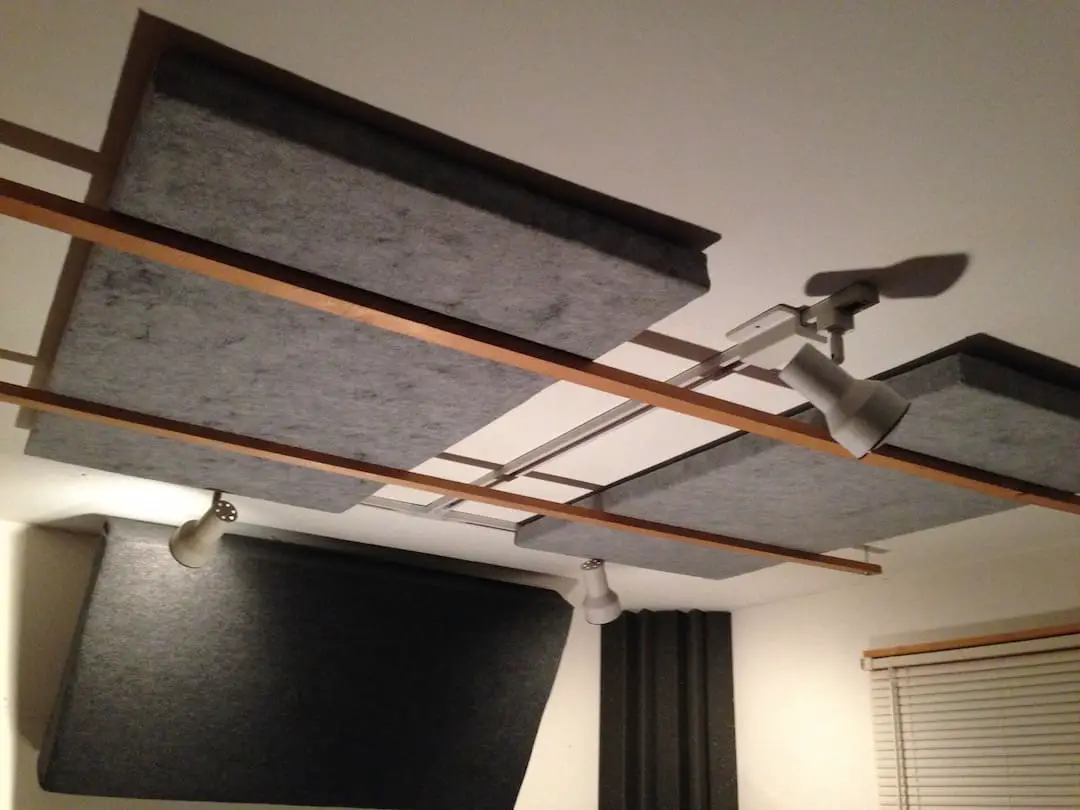
What if your acoustic panel absorbs sounds from the ceiling? You can be sure it is a great idea. It not only saves space but is also unique.
You will need roxul insulation for your frames. Assemble them using Kreg corner screws. That will give you a right angle. You need the fibers right and tight in place; a burlap will not disappoint.
The corners will help to hold the eye hooks as you hung the panels on the ceiling. The two inches left between the roof and the clips prevent the sound frequency from reaching the top. It is such a great sound.
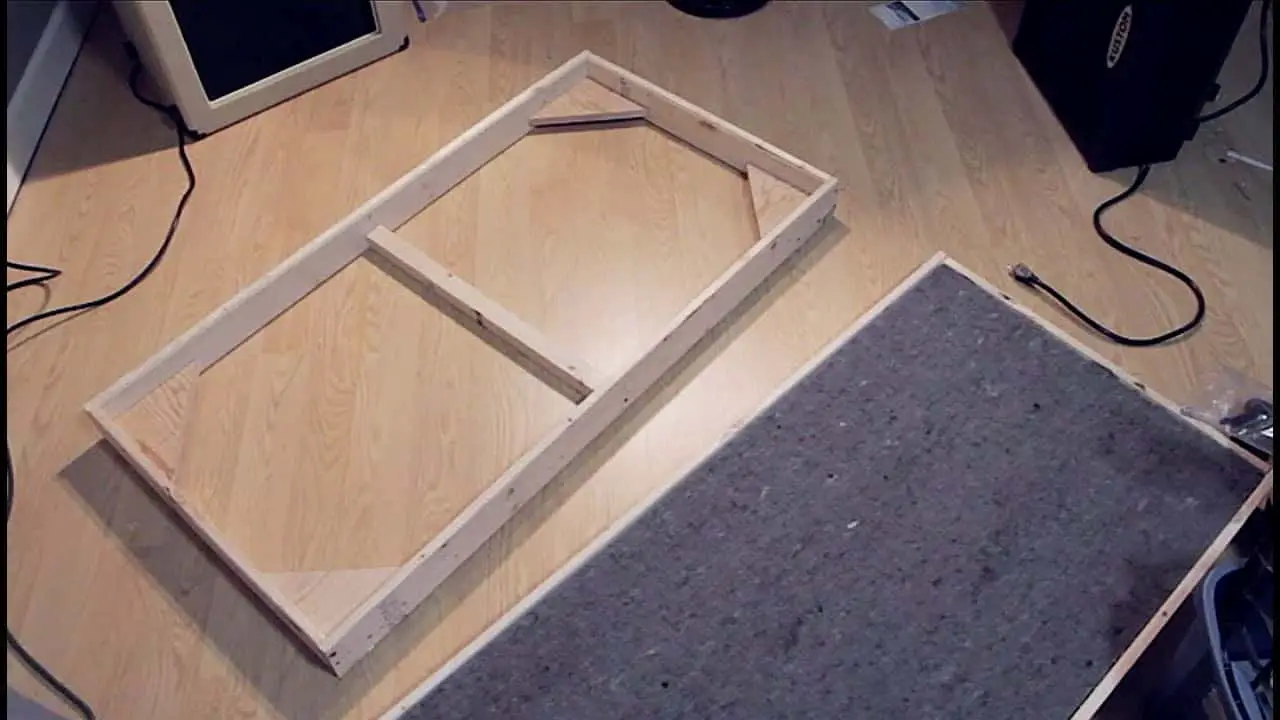
DIY Acoustic Panel for your Recording Studio
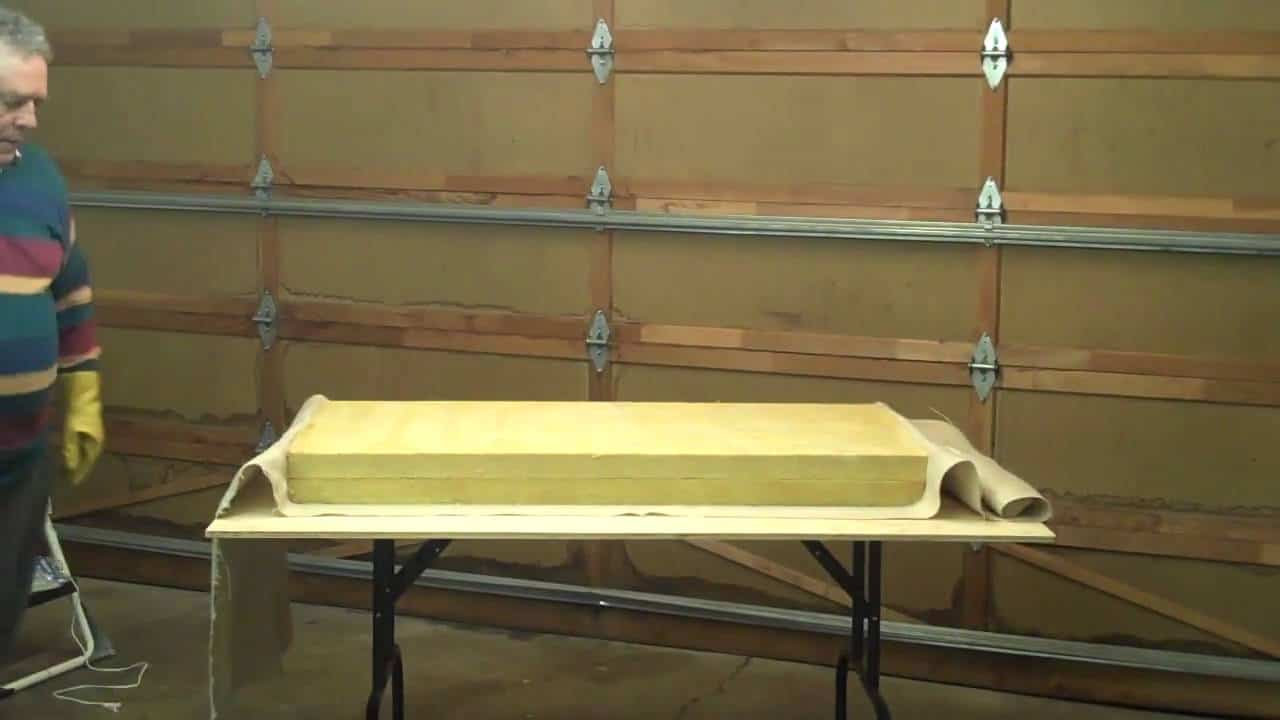
You can have a neat, simple but elegant acoustic panel for your studio. Get your adhesive caulk and glue two thick sheets of 703. Rip some OSB into pieces and glue the pieces on the front and back of the insulation sheet.
A breathable canvas is ideal for absorbing noise. Laying your panel in the fabric once you place it down makes folding and tacking easier. The glue helps to hold the material on the panels in place and to make it smooth.
Do not ignore the nail gun. A great asset to secure your fabric on the OSB. L brackets hold the panel when you place it anywhere you wish.
DIY Pro Acoustic Panels
MDF materials can never be underrated. They produce quality and durable items. Try it out, and you will love it.
You will need to rip the MDF into pieces to make the frames. It would be best to pre-drill holes to avoid hassles when you finish making the panel. You can only prevent particles from escaping from your fiberglass if you staple it on the back of your frame.
The front side may also need the screen. French cleat can be ideal to hang this panel on your wall. They are strong and can stand the weight.
DIY Towel Acoustic Panel
With items quickly accessible in your home, you can make an acoustic panel. You do not need to incur so much if you have unused towels in your house.
Some packaging sponges and a pillow also help to absorb sound at different intervals. Among the three materials, the towel is the best sound absorber.
So, once you have your panels, you can use the towels to make a sound-proof. Hang them on your wall like picture frames and enjoy the clear and nice sound. A glance at this UTuber will help you prove that this is better than many expensive acoustic foams.
How to Make a Simple Acoustic Panel At Home
I never thought it could be this simple to make an acoustic sound panel at home. You need a few materials since you will not get all of them at home. However, you can do it yourself without spending a penny on an expert once you have the necessary items.
Materials
- Fiberglass
- Wood glue
- Furring strips
- Wood screws
- Frame hangers
- Spray adhesive
- Breathable fabric
- D-ring hangers-heavy duty
Tools
- drill
- Drill Bit
- Screwdriver Bit
- Staple Gun
- Saw
- Hammer
- Scissors
Step by step instructions
-
Select the core material. It should be sound-absorbing and possess these features:
- 2’’ thickness
- Dense
- unfaced
-
Add the frame
Cut the furring strips according to the size of your panel, then build the frame. Spray the adhesive to the whole insulation perimeter. Do not apply it on the front side.
-
Wrap your panel
Select a beautiful fabric that will give your panel a decorative look. The fabric must also be sound transparent. Your fiberglass should not be visible through this fabric also.
Lay the fabric on a flat surface, then place your frame panel on top. The flat side of the panel should face up. Wrap the fabric around the board using staple pins. Ensure you take care of the edges to avoid ugly folds.
Spray adhesive on the lower side of the remaining fabric, then fold on the panel.
-
Mounting
You are almost there. It is now time to mount your unique acoustic panel. Screw your D-rings on both sides of the frame. Hang the D-rings on the picture hangers, then place the panel on your desired location; a wall or a ceiling can do.
Remember, one or two inches holes behind the panel can improve sound absorption frequency. Hence, you will enjoy quality sound.
-
Sit and listen
You can as well walk, sleep or do your other chores as you listen. The difference between the sounds an acoustic panel produces and the usual sound cannot be overstated. They are so far from each other as day and night.
It is easier said than done. Follow the steps above and see the difference.
Conclusion
If you love excellent music, DIY acoustic panels are always the way to go. This device always shows a distinct difference between higher er quality and lower quality sound.
Trying either of these DIY acoustic panel ideas listed above, you will never listen to crap.
