
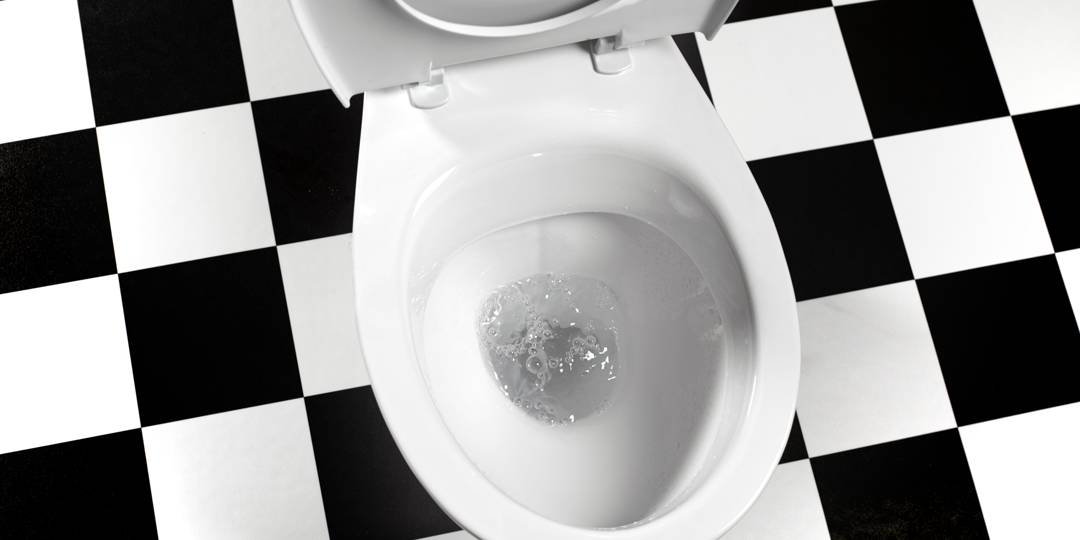
Toilet clogging can cause a mess in your house. It’s one of the sensitive areas where a fault in plumbing can be devastating. If you have no skills in diagnosing the problem and repairing it, you should at least know how to turn off the water to the toilet.
Turning off the water to a toilet before it becomes an emergency is the least you can do when waiting for an expert. Your drainpipe can clog for many reasons, and a continuous flow of water through it can only worsen the situation. Water to toilet shutoff is also necessary when carrying out scheduled maintenance. But how do you do it? Read for detailed information!
When Do I Need To Shut Off My Water To Toilet?
Sometimes, a small problem may escalate quickly if appropriate actions are not taken. That’s the same case with toilet plumbing failure. It will potentially damage your home and render it inhabitable in severe cases. So, when should you turn off the water to the toilet?
You should be monitoring your entire plumbing system, not just the one in the toilet. By doing so, you will know where different valves are located. That will help you to quickly turn off the water when:
- A pipe, fixture, or leaking appliance
- Toilet is clogged
- Toilet constantly running even after adjusting parts in the tank
- A pipe has bursts
How To Turn Off Water To Toilet
There are three different ways of turning off the water in the toilet. The first one involves turning off the toilet valve. The second and third options include lifting the toilet float and turning off the water from the main valve. These should be done systematically. That’s start with the most immediate and only proceed to the next option if the first one fails to work.
Closing the Toilet’s Water Shutoff valves
Many toilet plumbing systems include toilet shutoff valves. These valves are specifically for stopping water from flowing into the toilet tank when needed for repairs, maintenance, or unclogging. So, this method involves locating it and turning it off. You may need a pair of pliers, pipe wrench, or any tool for turning the valve.
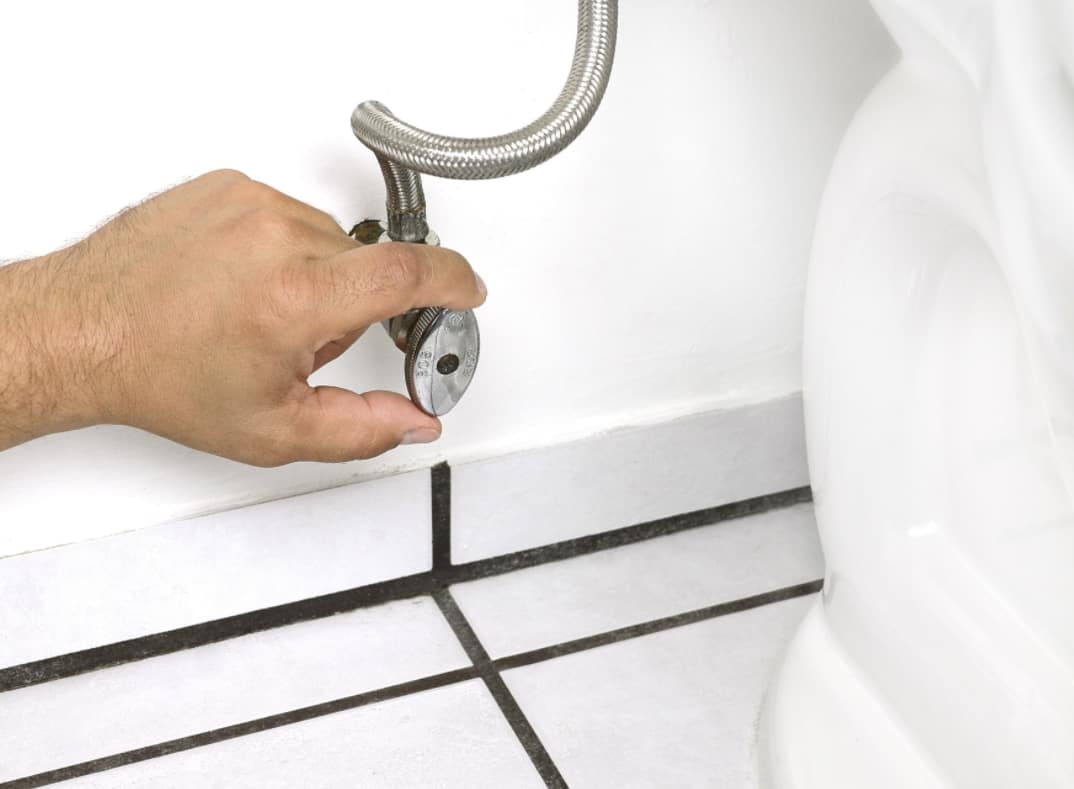
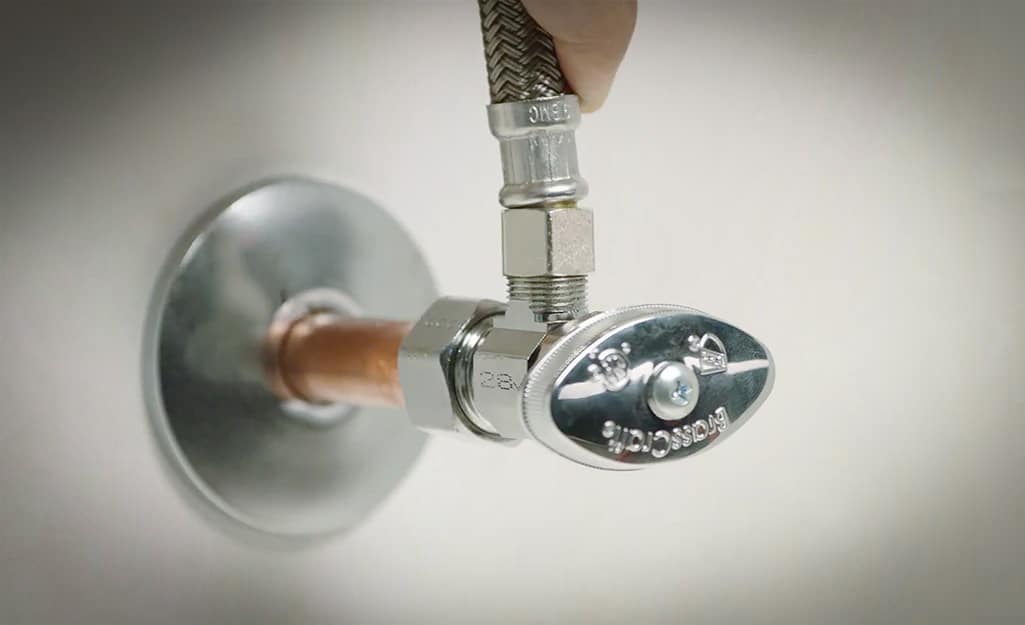
Step 1: Locate the shutoff valve
The shutoff valve is a football-shaped valve connected to the pipe or hose from the bottom of the toilet tank to the plumbing system in the wall. Some toilet systems may not include a shutoff valve. If that’s the case, consider other methods of turning water to your toilet, as described below.
Step 2: Turn the shutoff valve clockwise to the end
Turning the shutoff valve completely clockwise will cut the water supply to the toilet tank. This should be a straightforward process. If it is difficult to turn, it may be due to rusting, which occurs when it’s not maintained. It may indicate that it needs replacement, but this is not the time to do it. So, use other methods to cut the water supply to your toilet.
Step 3: Flush your toilet to ensure the water is turned off
The toilet water shutoff valve may be faulty. And even after turning it clockwise to the end, water can still pass through it. You should confirm that action by flashing your toilet if possible. But you should not flush if you are dealing with clogging issues. That will only escalate the problem. In that case, lift the float lever.
If the water is not turned off, more water will flow into the toilet tank after flashing. The same happens when the float lever is lifted and pushed down again. That’s an indication that your shutoff valve is faulty and requires replacement. If you used the float lever to perform the test, you should quickly lift it up again if more water flows into the tank. Otherwise, you will have an overflow problem to deal with.
Step 4: Turn the water back on
When you are done cleaning the clogs or repairing the toilet, turn the shutoff valve back on. That involves doing the opposite of step two. Turn the valve counterclockwise all the way to the end to turn the water on. At this last step, flush your toilet to confirm that everything works as expected.
Turning Off The Main Shutoff Valve
Use this method if the first one fails. If there is no toilet shutoff valve or you cannot turn it off, consider turning off the main shutoff valves. This method will cut off the water supply to all systems in your home, including the toilet, kitchen, garden, etc.
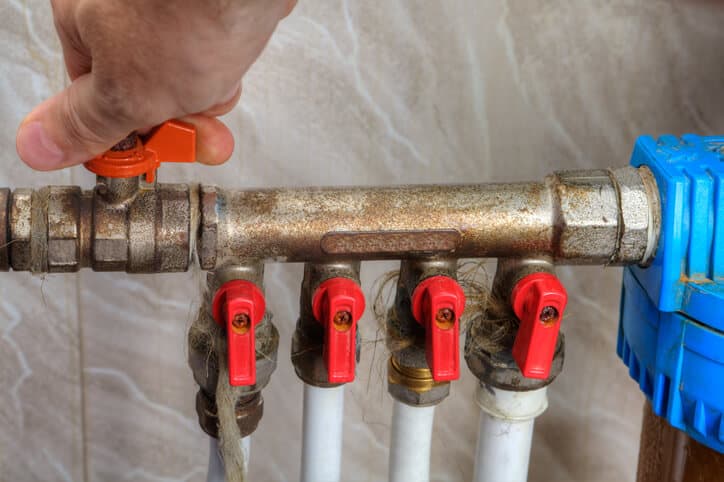
Step 1: Locate the main shutoff valve
You need to find where the main shutoff valve is located, usually next to your water meter. Fortunately, many homeowners have no problem identifying it. If you live in cold areas, it will most likely be indoors. Check the basement near the first foundation wall.
You should check outdoors if you live in the tropical region. Most likely, you will find it underground next to one of the outside walls. Once spotted, just open the lid to access the main shutoff valve. If your home has an external water heater, there is a high chance that the valve will also be next to it.
The main shutoff valve may consist of two-wheel handles or levers that help you turn it off with minimal effort. The levers are found on both sides of the water meter.
Step 2: Turn the valve clockwise to shut off the main supply
Whether your main shutoff valve has a wheel or lever, the process of operating it remains the same. Just turn it clockwise all the way to the end to stop water from flowing into your home. If you have two main shutoff valves, just operate one of them. That should be sufficient to cut off water.
You can confirm if water to your home has been cut off by opening any tap. If the water still flows, you may need to operate the other main shutoff valve or use the last method described below.
Propping Up Float Lever
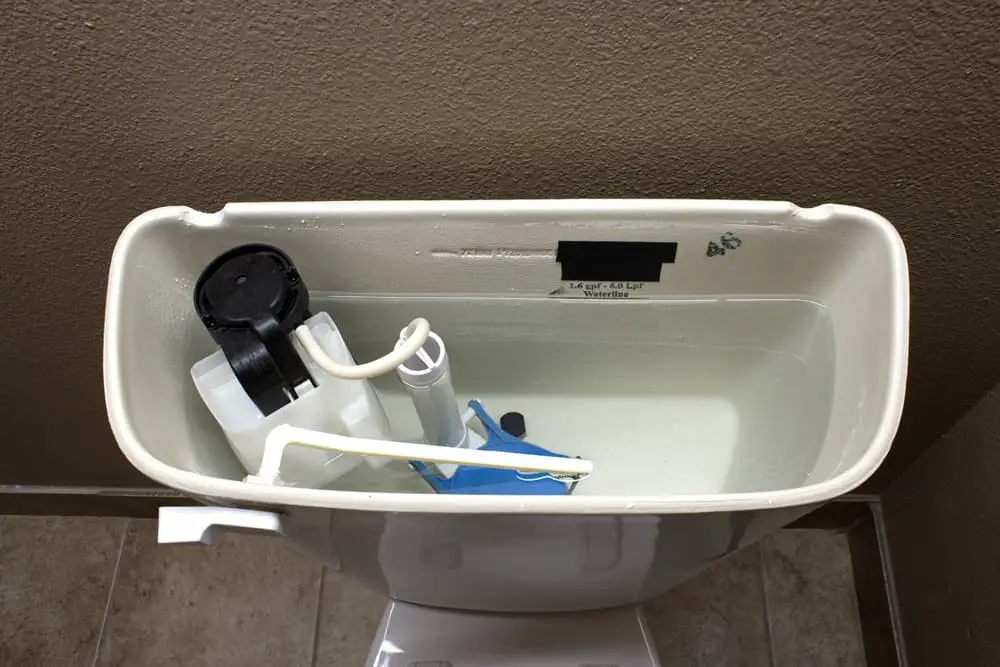
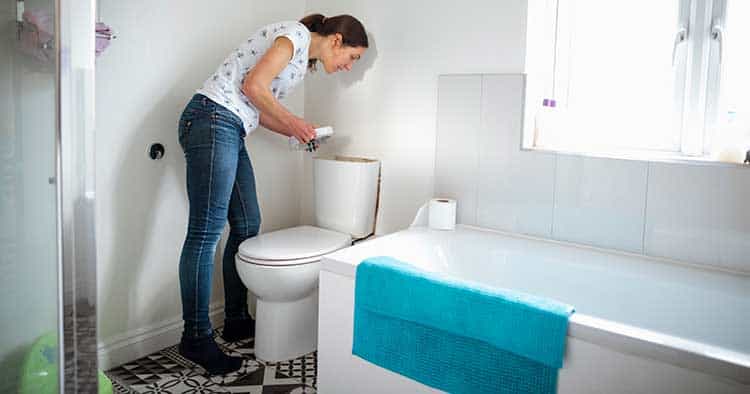
Step 1: Remove the lead from the toilet tank to locate the float lever
The float lever is located right inside the toilet tank. Removing the lid will expose it so you can pull it up and secure it in that position to prevent water from flowing into the tank.
The float lever is automatically operated by the water level to open or close a valve in the tank. When you flush the toilet, the water level goes down with the float leaver opening the water valve. As the water level rises, the float lever rises with it up to a point where it closes the water inlet valve.
Step 2: Secure the float lever in the up position
To keep the water inlet valve permanently closed, secure the float lever in an up position. You can do that by slipping a sturdy wire or slim wood under it. With a float lever in this position, the tank will not be refilled after flushing.
Step 3: Flush the toilet to drain water in the tank
Once again, you should not flush if you are dealing with a clogging issue. Check if water flows in the tank after flushing.
Step 4: Allow the float lever to return into the down position
Once you are through with the repairing or unclogging task, remove the wood or wire you used for securing the float lever in the up position. With the lever down, water will fill the tank once again.
How To Completely Drain Water From The Toilet Tank
Flushing doesn’t empty the tank completely. There will be some of it left at the bottom of the toilet tank. There are many ways of drying out the tank, but we will only discuss two of them. You can use your creativity to also get the job done.
First, use a sponge to soak the water and squeeze it into a bucket. Repeat the process until no water is left in the toilet tank.
The second method is through siphoning. For this, you need a flexible hose of about 4 feet in length. Fill it with water and block both ends with your two thumbs. Insert one end right in the water inside the water in the tank and the other end in an empty bucket. Release your thumbs at once, which will allow water to flow out of the tank. Dry up the little water left by soaking it with a sponge.
Tips For Turning Off Water During A Toilet Overflow
Blockage of the drainage pipe is the common cause of toilet overflow. So, how do you turn off the water to the toilet without causing more problems? Use the following tips:
- Don’t keep on flushing. Since the drainpipe is blocked, flushing will flood the toilet flow. Turn off water using the methods described here and unblock the drainage pipe before flushing your toilet.
- Don’t use chemicals to unblock your toilet. The use of chemicals will only force you to flush the toilet. If it is clogged, the overflow will only spread the chemicals on your bathroom floor, which can damage the tiles.
Conclusion
Turning off the water to a toilet is a DIY task that you can handle by yourself. Just use the methods described in this article to accomplish it as you wait for an expert to help you solve the problem. Turning off the water to the toilet will help you prevent further damages that a clogged drainage pipe can cause. Get into the action as quickly as possible.
